The first Advent is over and the first Christmas trees are slowly being put up in apartments and houses. What Christmas tradition do you have? Do you decorate your Christmas tree on December 23rd or before?
Small lamps or candles, the scent of fir trees that wafts through the air and of course beautiful Christmas tree decorations should not be missing.
Animal friends or favorite animals are increasingly finding a place on the Christmas tree. I'll show you how you can use the animal file in the Mr Beam design store to make animal Christmas tree decorations in your graphics program.
What do you need for your animal Christmas tree decorations

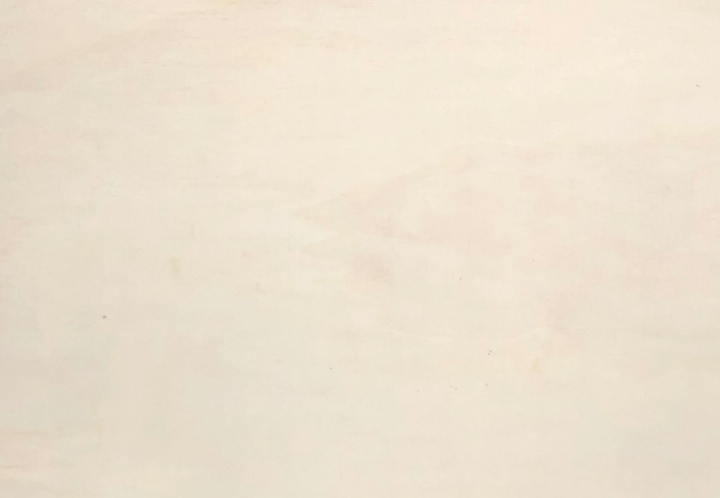
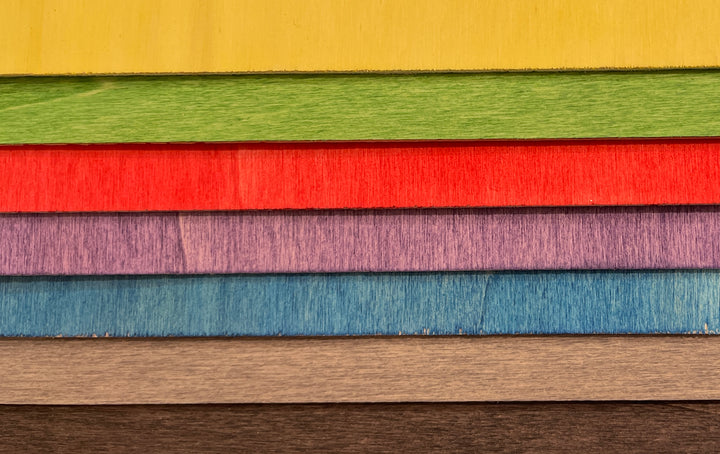
- Poplar plywood or even better: colored poplar plywood 3mm
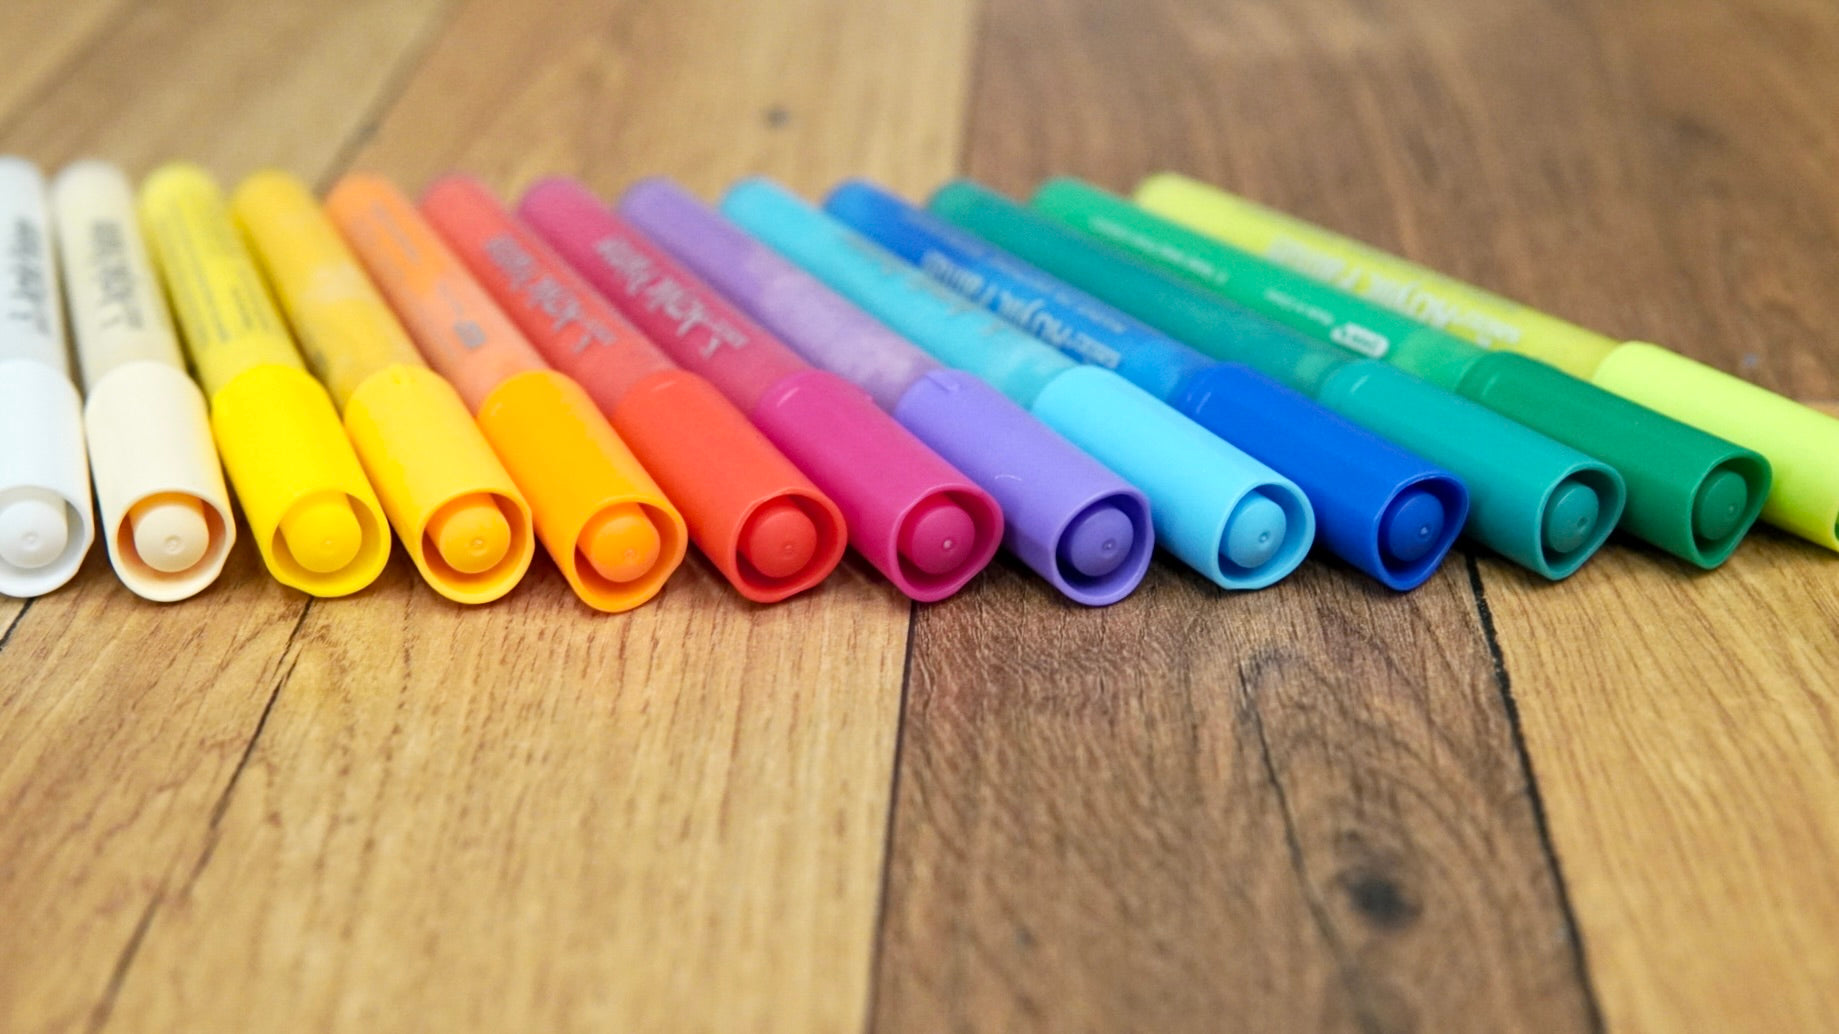
- Acrylic pencils because they cover well and can be used on wood.
- a string to hang up your animal Christmas tree decoration figures.
- a graphics program such as Adobe Illustrator , Inkscape, or Affinty Designer.
- your Mr Beam and of course the file from the design store.
Cat, llama, owl, dog and fish get a Christmassy look for the Christmas tree decorations
The file includes a cat, a dog, a fish, an owl and a llama. When you start your Mr Beam, you can access the design store via BeamOS.
In order to give the animals for your Christmas tree decorations the Christmas look, you still have to edit them in your graphics program.
To do this, load the file with the animals into your graphics program. Create different Santa Claus hats, fairy lights, stars or whatever else you want to decorate your animals with. Let your Christmas creativity run free.

Using the Santa Claus hat as an example, I will show you how to connect it to the dog so that your Mr Beam can engrave it.
To do this, create a narrow offset around the hat (recognizable by the red line).
Then mark the cap and offset and move both together onto the dog's head and adjust them if necessary. Then connect the dog's green cut line to the hat's offset by marking both lines and then welding.

Et voilà, you now have a continuous cutting line around your dog and hat, and the outlines of the hat and dog will be engraved. What should not be missing under any circumstances is of course a suspension for your animals as a Christmas tree decoration.
To do this, create two circles that you also weld to the cutting line.

You do the same with the cat, the fish, the llama and the owl.
Design your animals for the Christmas tree decorations according to your mood. There are really no limits to your creativity here. A Santa Claus hat, a colorful chain of lights and maybe a funny saying?!
A “Fa la la la Lama” wishes “Meowy Christmas” with the cat
With sayings, your Christmas tree decoration animals are also very suitable as gifts. The cat wishes "Meowy Christmas" and the owl says "Owl I want for Christmas is you."
The owl as a Christmas tree decoration
You can adapt the “Owl I want for Christmas is you” to the curve of the animal’s body in your graphics program.

Depending on the font, you have to adjust the font size and the character spacing a bit so that it looks consistent and remains legible afterwards as an engraving.
The cat wishes Meowy Christmas
With these two words, you can fill empty spaces on the cat's body.
To do this, you create each letter as an individual element and adjust the size so that it fills the areas appropriately.

When you're happy with your creations, your animal Christmas tree ornaments are ready to be lasered.
Animals as Christmas tree decorations made by Mr Beam
Save your animals in a Christmassy look and then drag and drop them into your design library in BeamOS.
Now the poplar plywood is used.
If you'd rather make the cat, dog, fish, llama, and owl entirely your own with your acrylic pens, then you can use plain poplar plywood for your animal-themed Christmas tree ornament figures.
To do this, place your poplar plywood in the Mr Beam and load all your characters from the design library into the workspace.
Arrange them to save material and adjust your laser settings if necessary.
Under the "advanced settings" box, you will find the option to set the line spacing.
For engraving wood, I recommend reducing the line spacing from 0.15 to 0.1mm to get a more precise engraving.
Tip: Use the cutting mat for wood, so you can reduce traces of smoke, and after the laser job you can tell whether the wood has been cut through by touching it lightly. Focus the laser head and start the laser job.

If - like me - you like it really colorful, or want your animal Christmas tree decorations to match the color of your Christmas tree balls, use the colorful poplar plywood.
Put one color of your colorful poplar plywood into your Mr Beam and let him laser your figures. Then, you just add a few more colorful highlights to the animal Christmas tree decoration with your acrylic pens.

Acrylic pencils for the Christmas highlights of your animal Christmas tree decorations
Now it's getting (even) more colourful. For the caps of your figures you need a white and a red acrylic pencil. As many different colors as possible for the fairy lights.
The wood should be dry and free of grease for painting with acrylic pens. Give your acrylic pen a good shake with the cap on. Here it is similar to spray paint, the internal ball ensures that the paint is mixed well.
By pressing the tip of your acrylic pen onto a sheet of paper, you cause it to fill with color. Before you start painting, check the application of paint on the piece of paper and remove any excess paint if necessary.

Now it can start. Depending on the color, you may need to apply two coats to get adequate coverage.

So first paint all the parts you want to color once and let it dry.
Then you can judge which color needs another layer.

With a white acrylic pen with a thin tip, you can give your fairy lights and other elements a little more space.
Your animal Christmas tree decoration is ready . How do you like the somewhat unusual Christmas tree decorations ? I wish you a lot of fun imitating and “MEOWY CHRISTMAS”!
Your Rina


