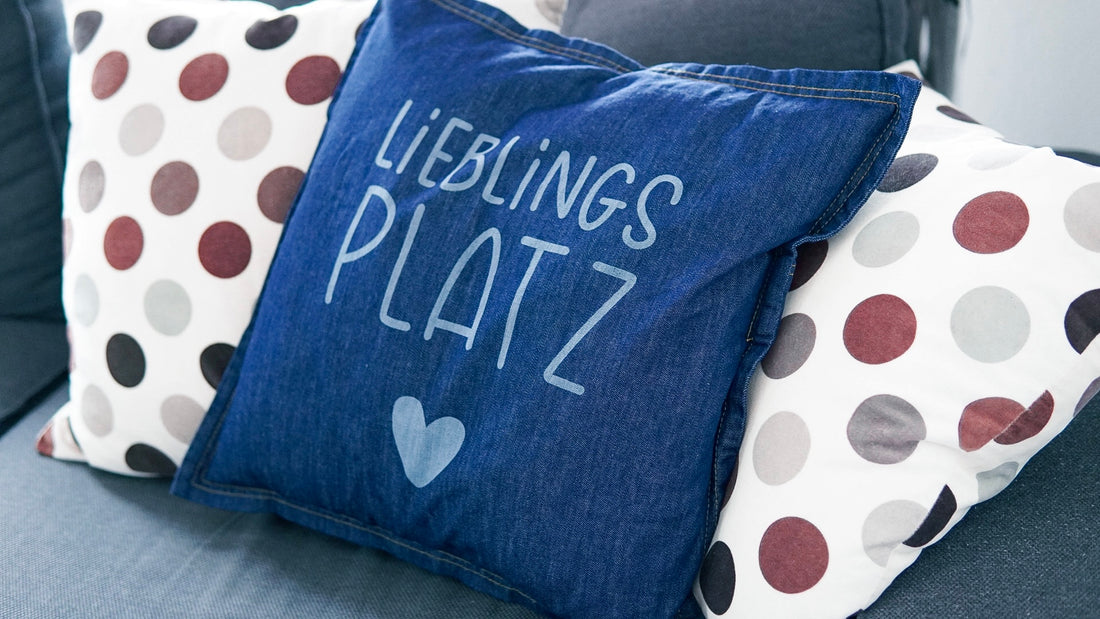
The Mr Beam can do so much! But can it also engrave and cut jeans? YES, it can! So nothing stands in the way of your DIY jeans trousers or, as in my case, the DIY jeans cushion. Thanks to your Mr Beam, you can easily jazz up jeans fabric and give it a completely new, individual look.
There are a few things to consider when laser cutting jeans
Cutting is the same as with any new material: test, test, test. Once you have found the right settings, slits or holes are quickly lasered into your DIY jeans. After the next wash, they will be stylishly frayed.
Engraving jeans is a little trickier than that
Problems with components of your jeans?
It is important that the fabric of yours Diy Jeans has a not too high stretch. The elastane contained therein burns in the engraving and unfortunately ensures that the engraving effects yellowish / brownish. This discolouration remains even after washing out. Therefore, not every jeans for an engraving is suitable with the Mr Beam.
What if your jeans are not in the Mr Beam fits?
Around your jeans you want to spice up in the Mr Beam you must fold them. And as so as possible that the area on the Mr Beam yours engraving DIY Jeans should, in the work area.
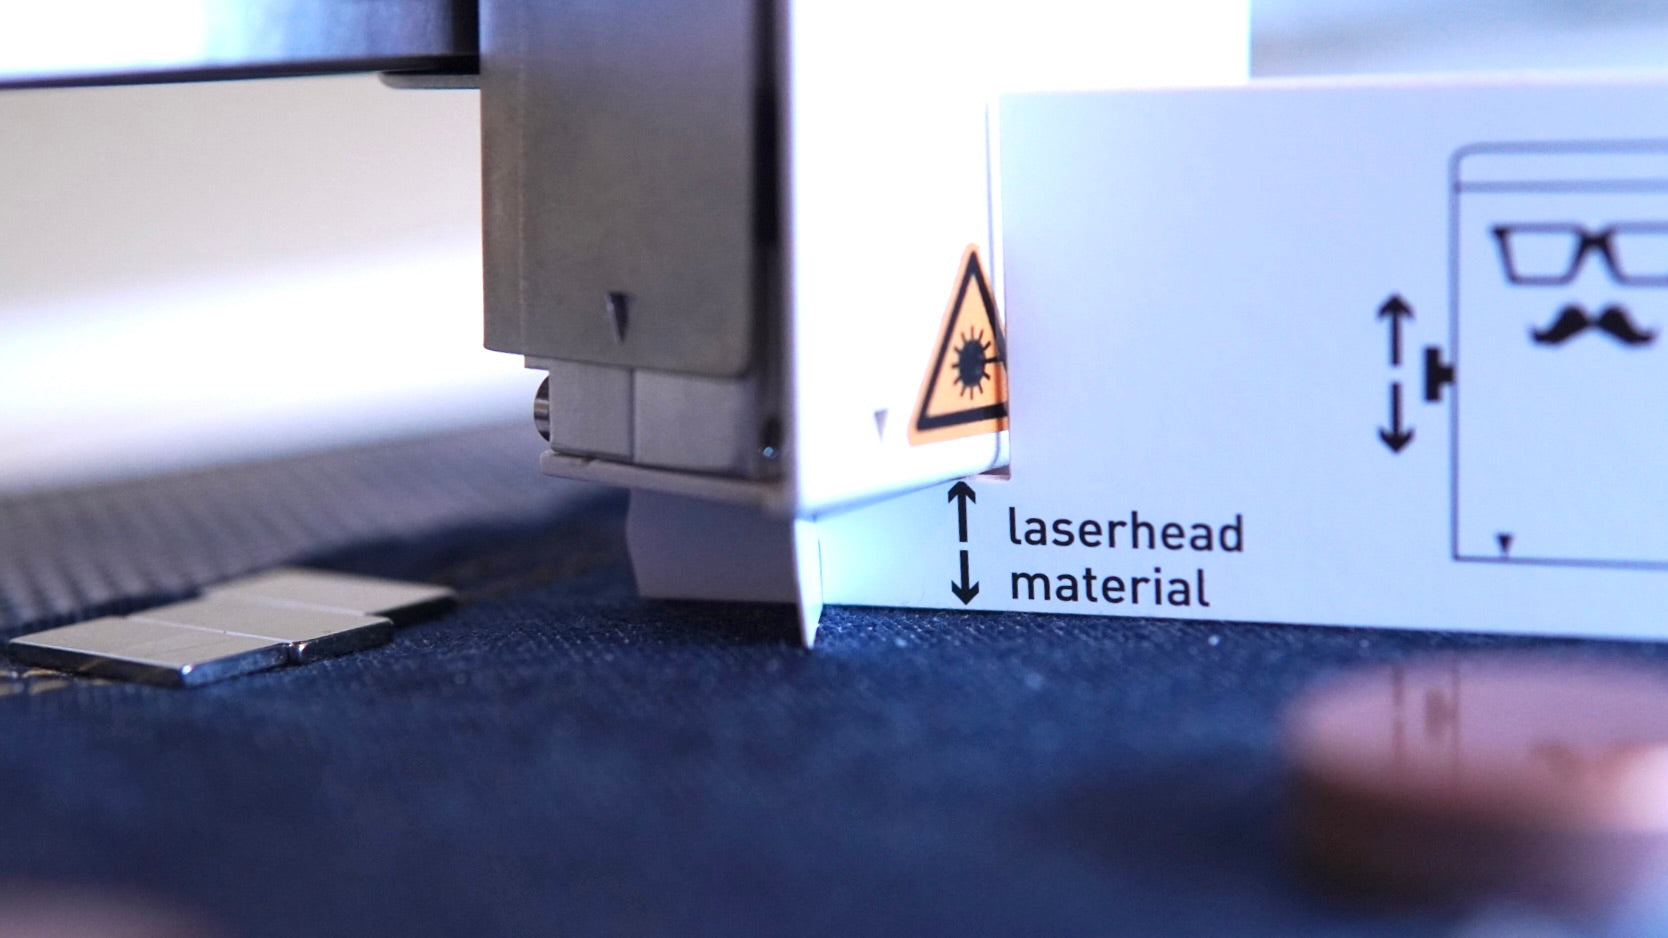
Note: The laser head must be able to move freely everywhere and must not hang anywhere. Depending on your own engraving Then otherwise unusable.
And what are you doing with bumps in the form of buttons, zippers or thick seams?

Same. The jeans pillow used are very big buttons on the back. Such bumps can be balanced with pieces of cardboard.
Fix yours now Jeans fabric with strong, as flat as possible, but strong magnets. Thanks to the magnets, you can easily tighten the fabric, so he throws no wrinkles in the area of the engraving.
Focus?
The A and O in the laser. But I find, here is again clear what difference makes a wrong focus. If you did not focus properly, then it can happen that you can "Only" light colour differences in engraving have. Another time it means, despite the same settings, that the fabric of your DIY jeans actually tears or fray after the engraving with light pressure.

How do you get the right settings to engraving your DIY jeans?
Blue, light blue, dark blue, thick or thin denim fabric. All jeans are different! And as well as the attitudes of jeans to jeans will vary.
How to say: "As little as possible, as much as necessary."
You have to choose the laser parameters so that the engraving is clearly visible, but at the same time only so strong that the fibres of your DIY jeans are not attacked too much and tear. You really have to feel your way around. I have done many, many tests.

For jeans become in the "Official Mr Beam Laser User Group"Facebook Group The settings for"felt"Recommended, but with the intensity to 25%.
This corresponds to: Intensity 0-25%, speed 1500-1500.
My engraving settings for the IKEA Sissil pillow: Intensity: 0-20%, speed 2000-2000.
You want to engrave a photo on jeans?
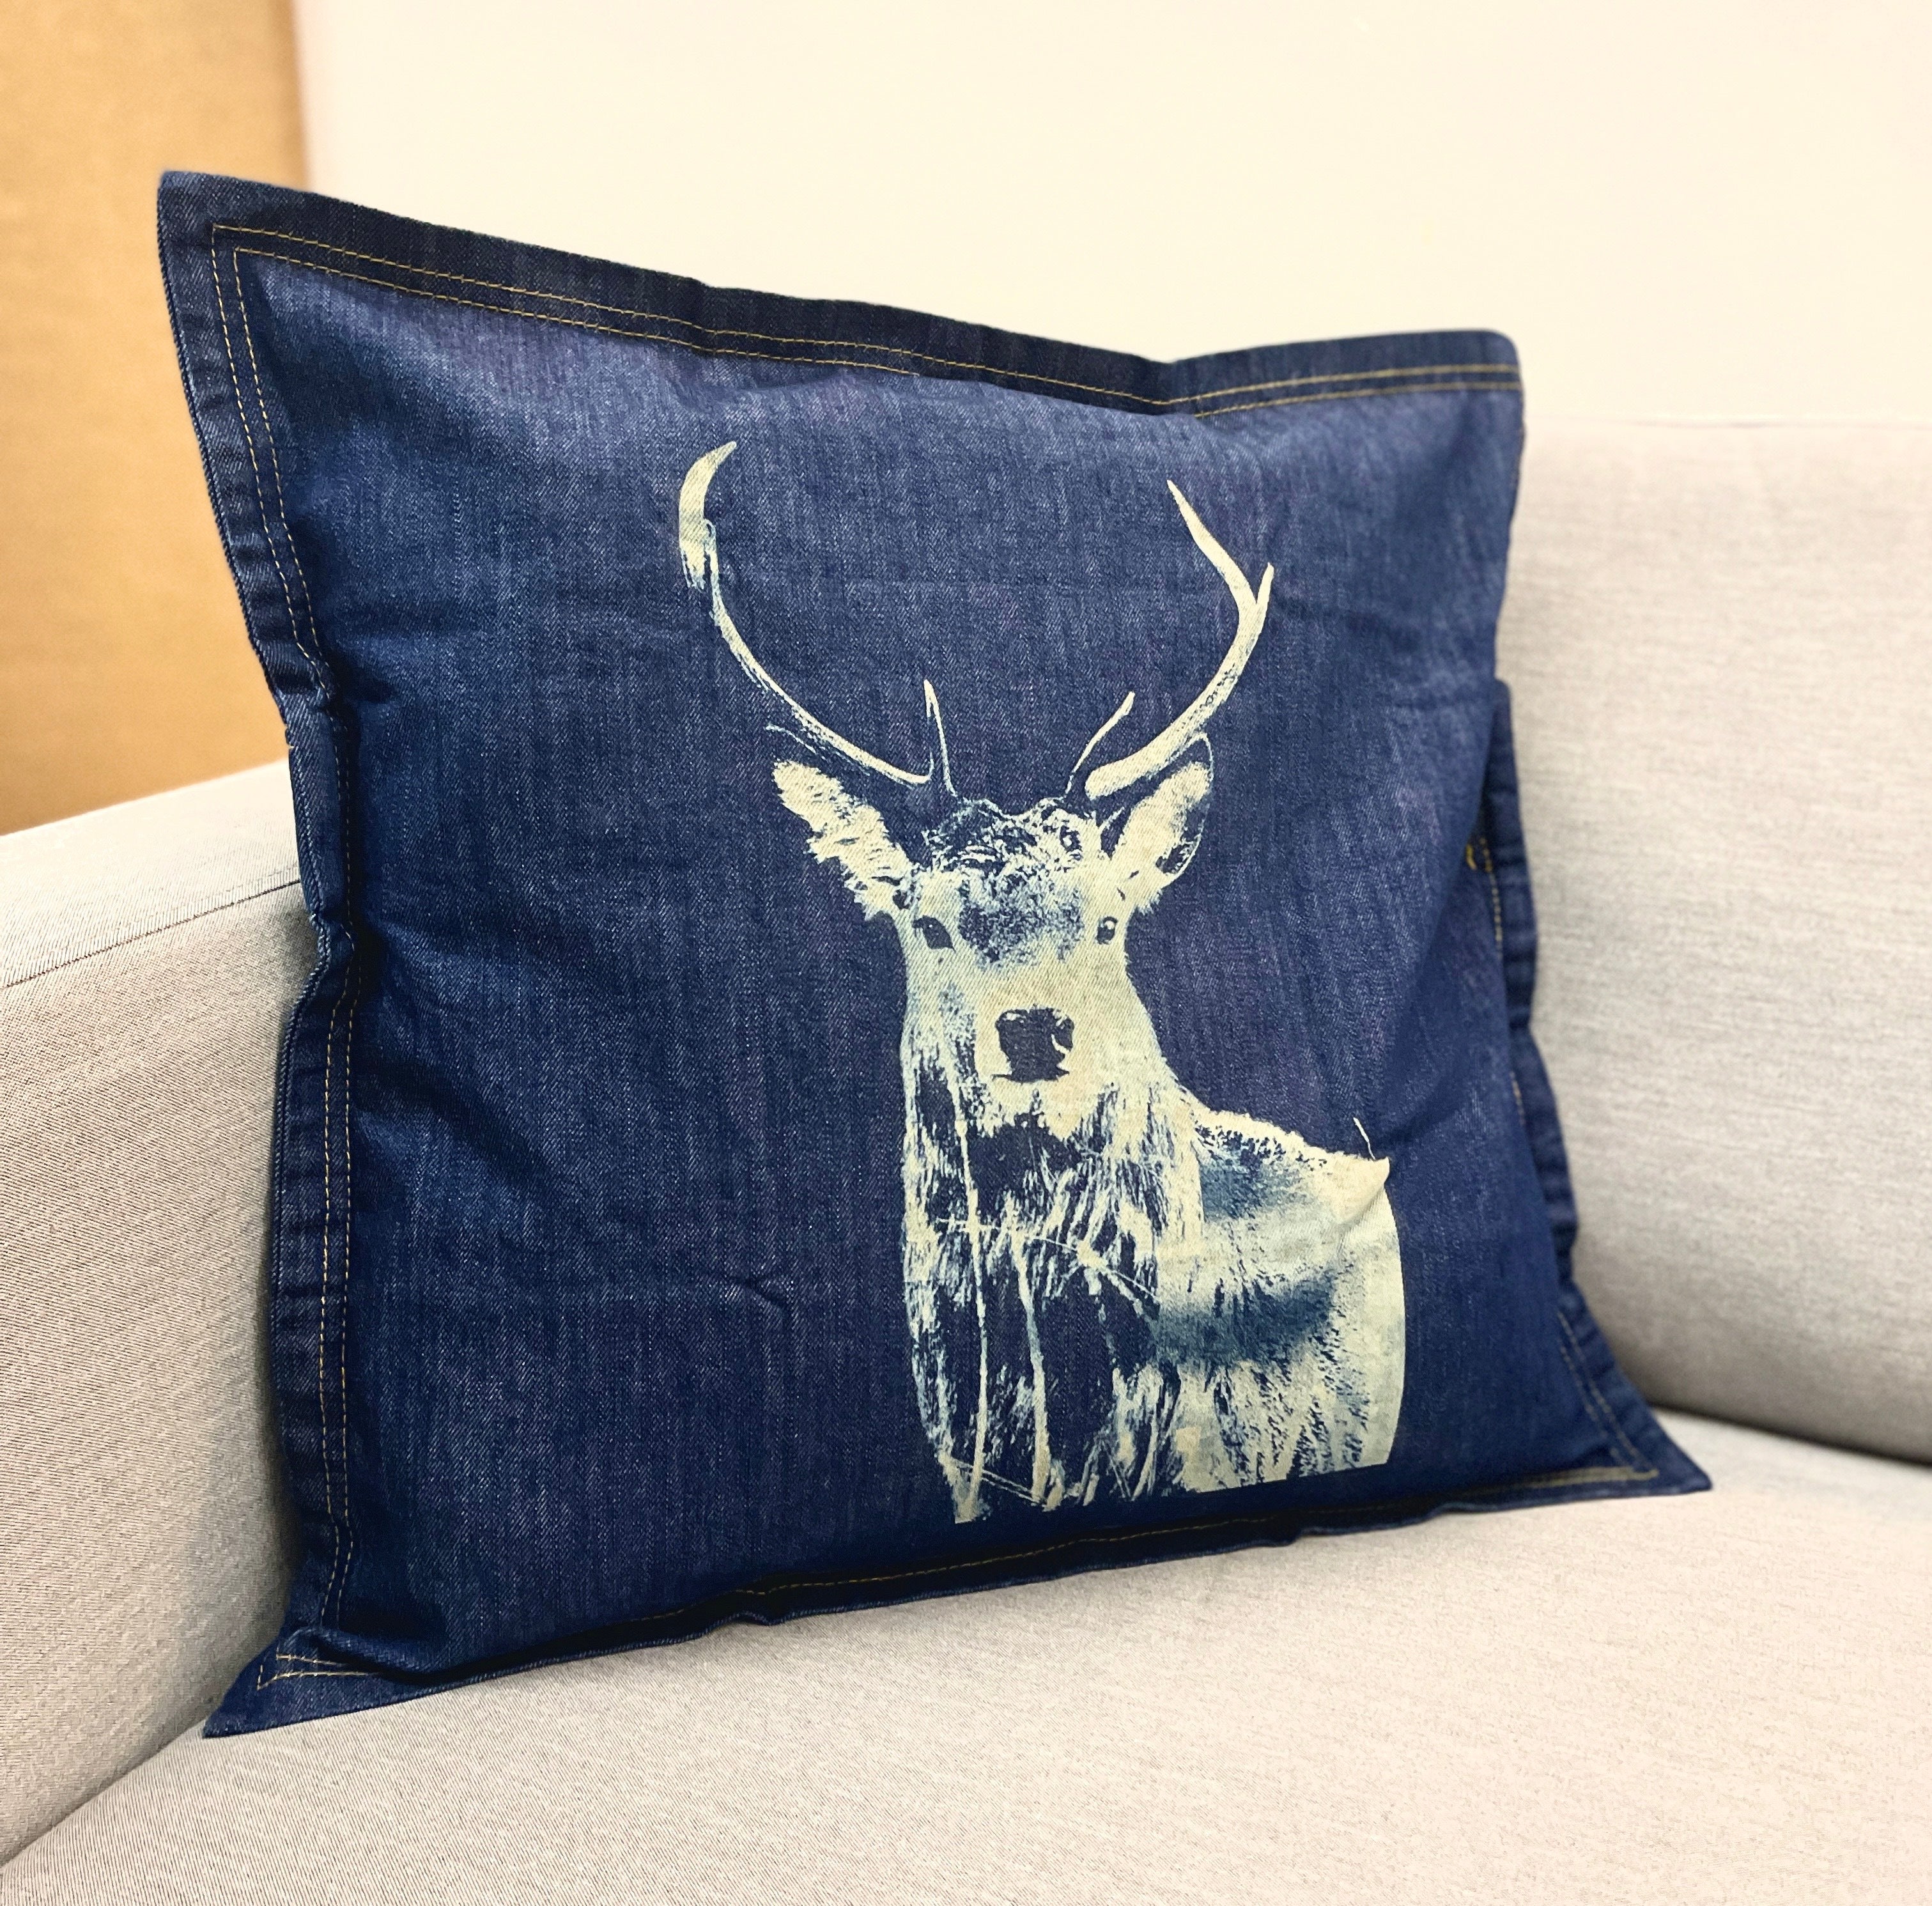
If you want to engrave photos on jeans, you need to edit your photo beforehand.
It must be converted into negative, because what is dark on your edited photo will be brightly engraved on your DIY jeans. Your negative picture should now be edited so that it looks contrasting after the engraving on the fabric.
I have worked as an example of this flowering with bee and then engraved. Incidentally, you can get more here Photogravure Read.

Wash the jeans fabric neatly

After engraving, you should wash the fabric to remove the remains from the laser. This is easy in the sink. Clear water and a little over the fabric rub. Add and let off and drying. Incidentally, I have the file for my jeans cushion mamassachen discovered! Is done Your peaked DIY jeans pillow In your individual look. Alternatively, you can get my tips from the Tutorial as already mentioned, just easily use for jeans or denim jackets.

Even with the score you are with the Mr Beam Laser engraving machine, as always, very variable.

Personalize denim jacket with the Mr Beam
How about even more inspiration? The team of Mr Beam For example, has this Jeans jacket engraved. Also a very nice laser result. 😍
PS: at YouTube There is also an explanation.


