“Another year over!” New Year's is just around the corner.
Do you already have plans for your New Year's Eve? Are you doing a big New Year's Eve party? Or are you celebrating in a small circle?
I have a few suggestions for you on how to make New Year's Eve a little special:
- Candlelight dinner for two
- winter barbecue
- pajama party
- Night hike followed by fireworks
- Eat raclette or fondue
- or do you already know our blog article with seven fun games for your New Year's Eve party ?
But no matter what you do on New Year's Eve, what should not be missing is the right, glamorous sprinkle decoration .
Materials to make your sprinkles for New Year's Eve
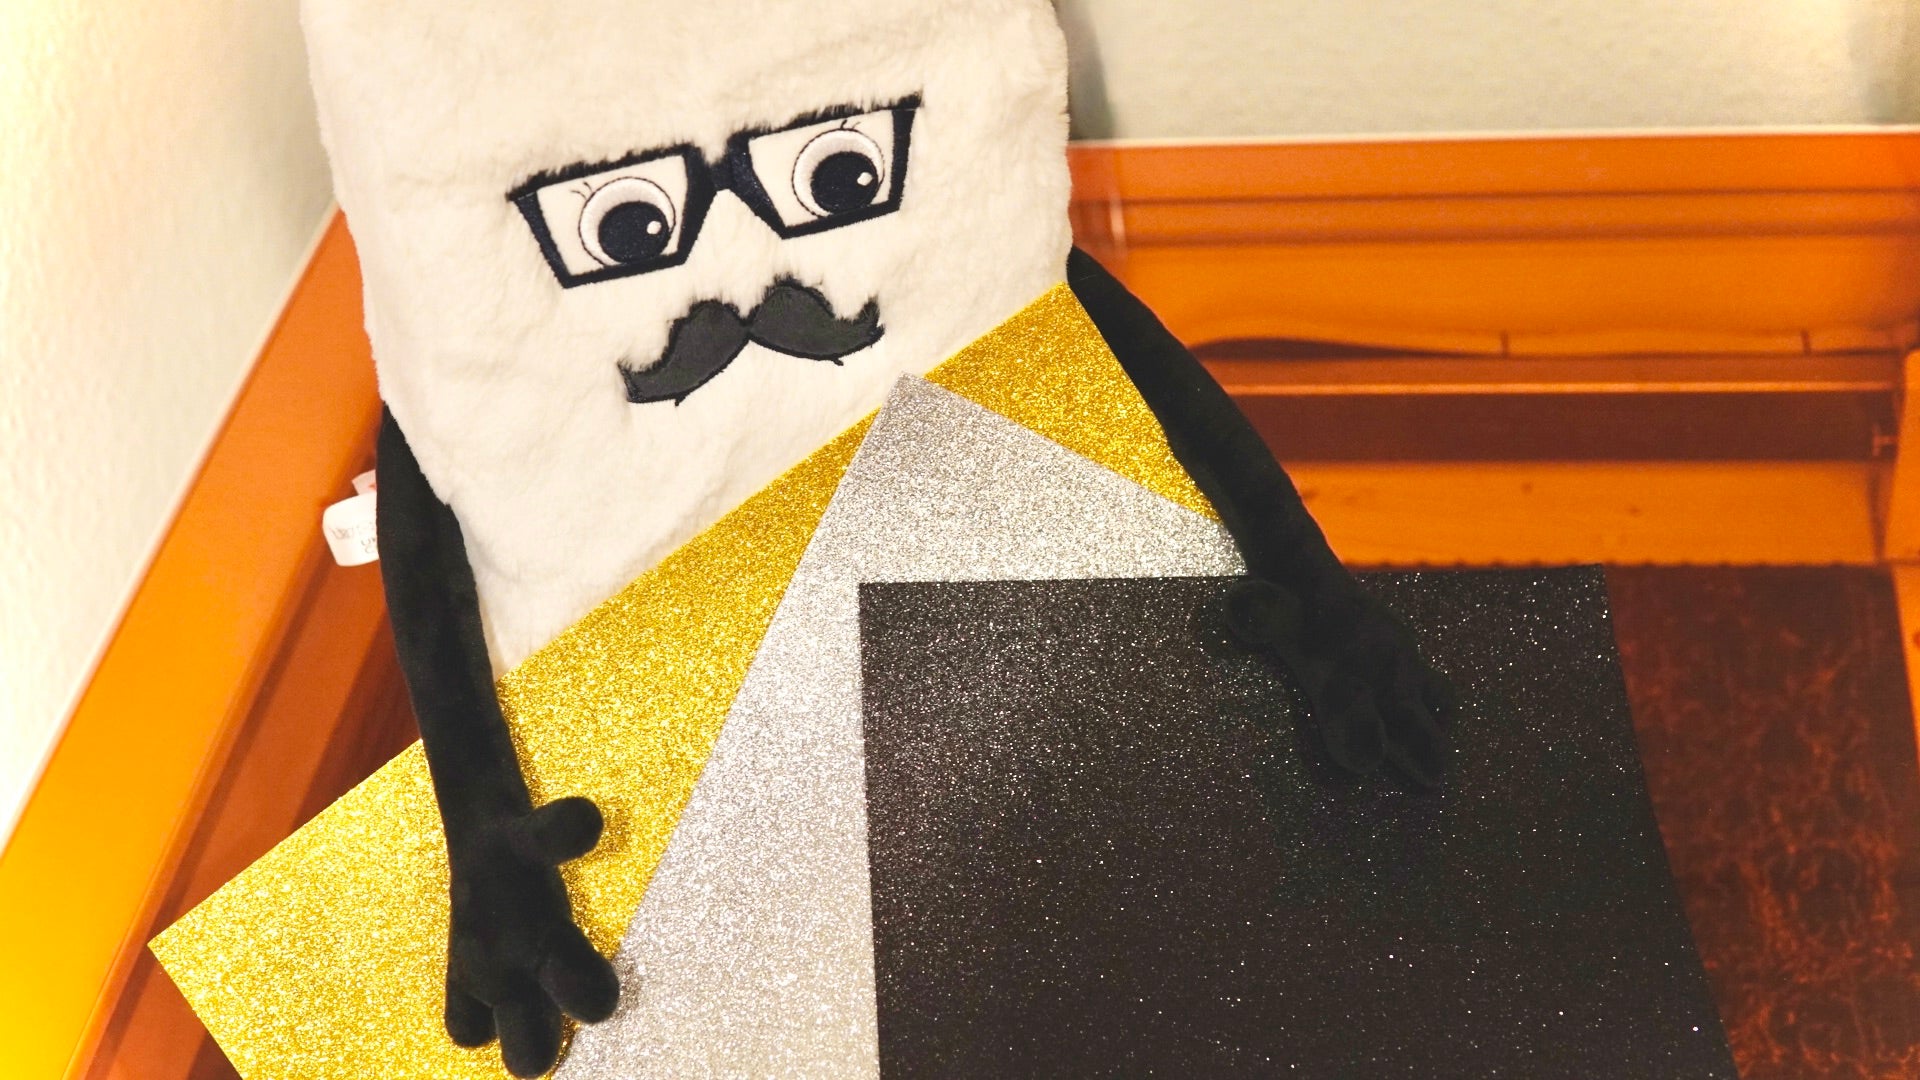
- glitter felt
- the files for your DIY sprinkles for New Year's Eve
- and your Mr Beam
That's it already. 😊
Motifs for your DIY New Year's Eve decorations
I combined the file from the Mr Beam design store with the "Happy 2023" introductory file from Mama's stuff.
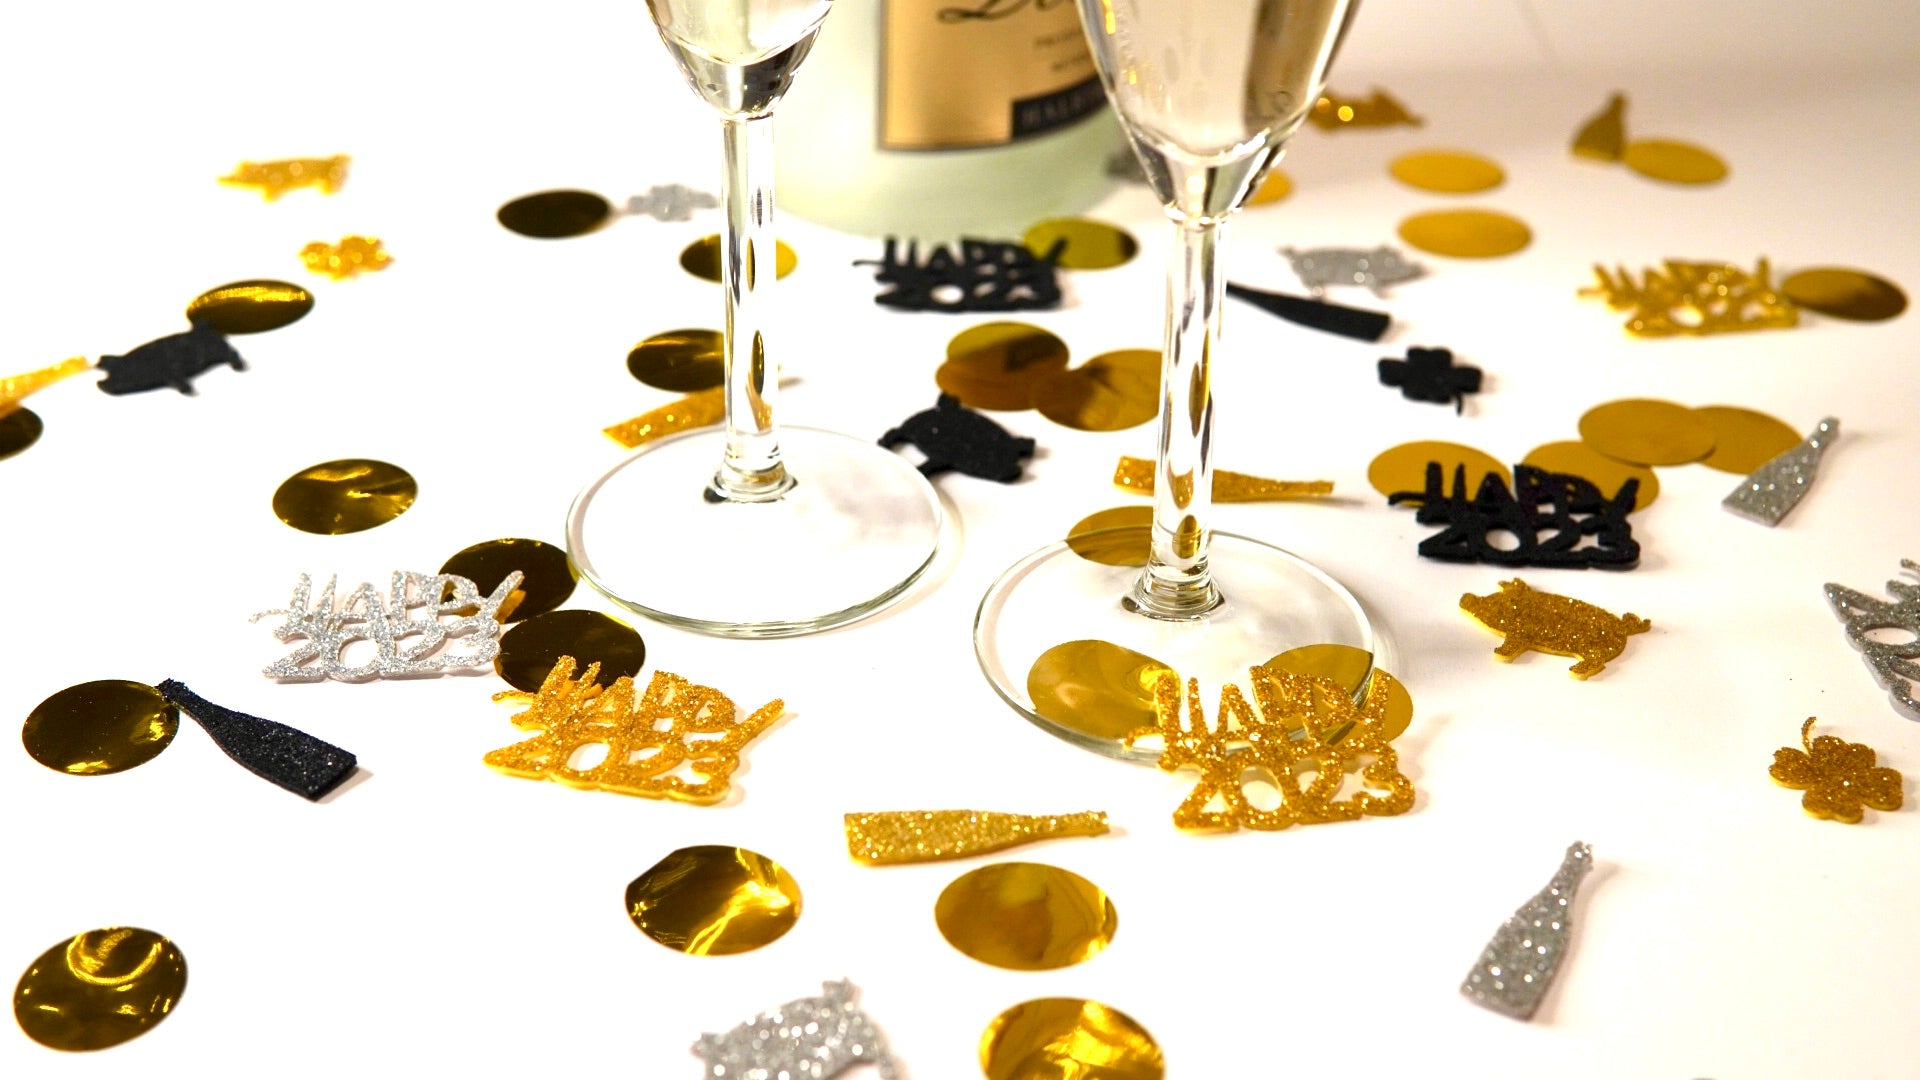
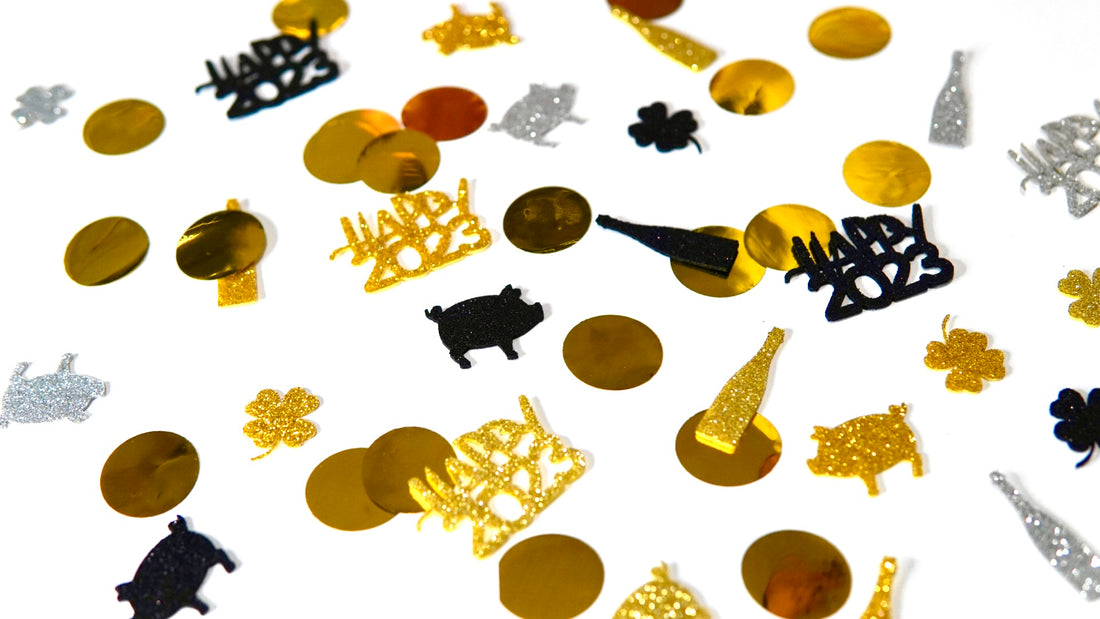
The scatter decoration consists of a pig, a shamrock, a champagne bottle and the lettering "Happy 2023". Your Mr Beam only has to laser this and your scatter decoration for New Year's Eve is ready.
Glitter felt for your New Year's Eve decoration
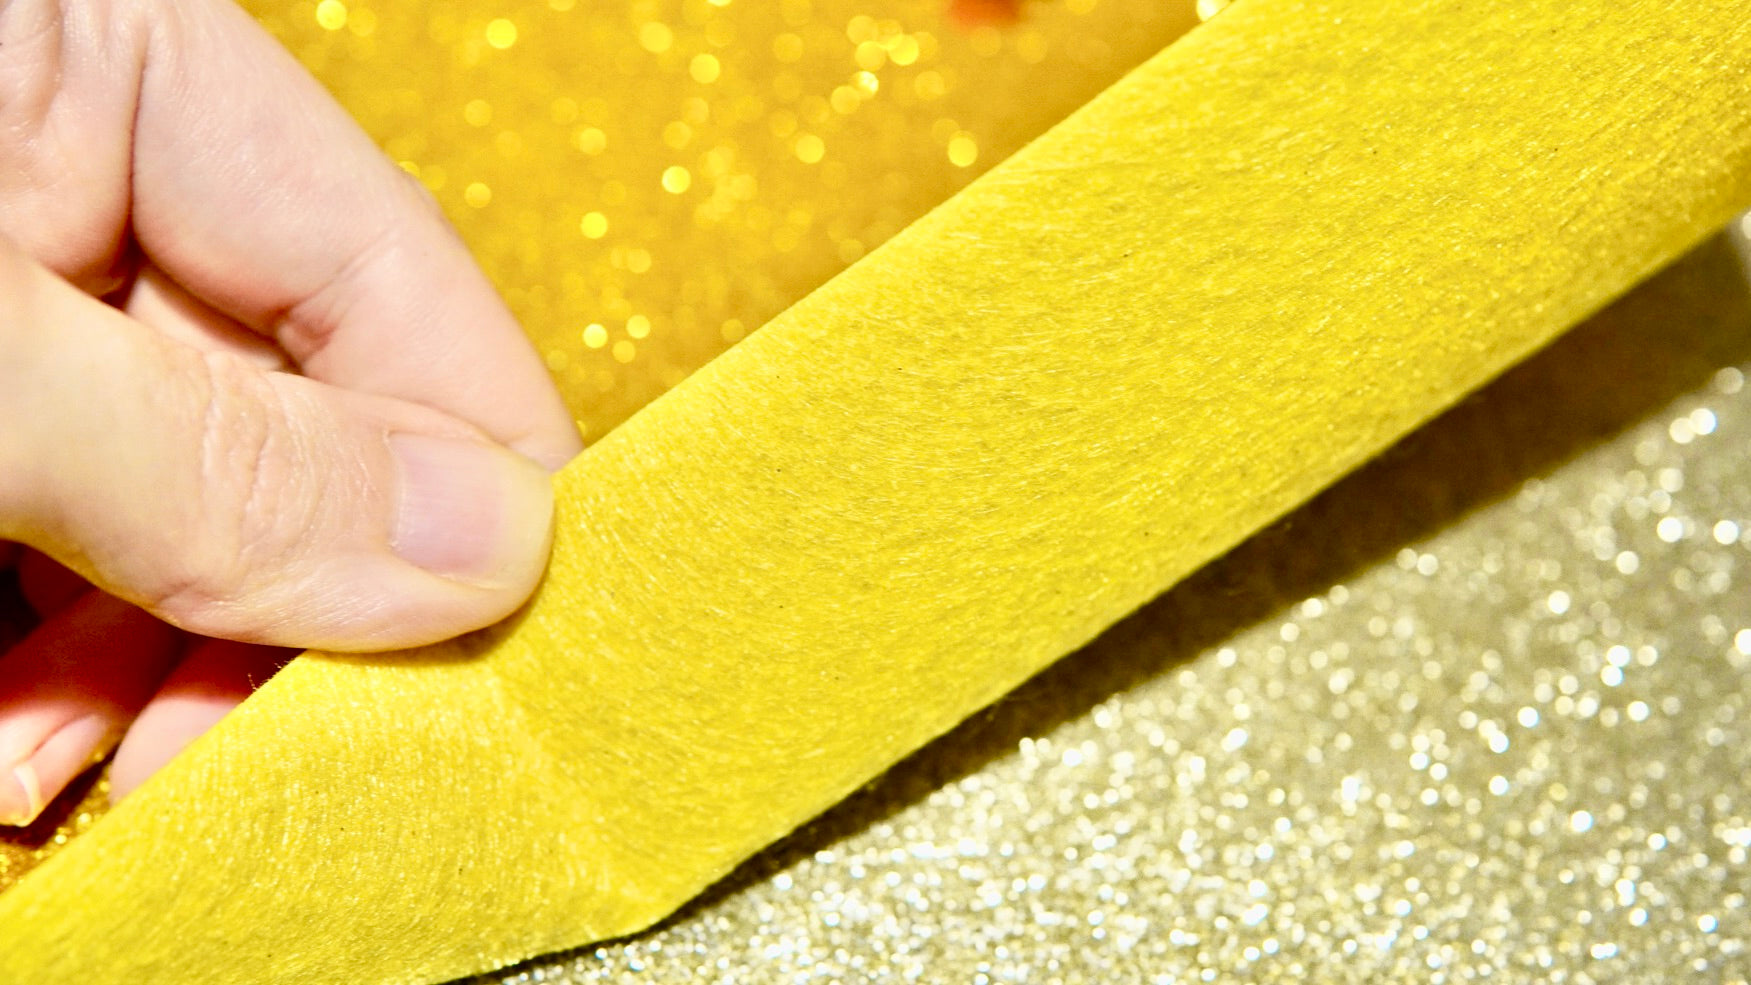
Glitter felt is a mostly thin felt. It is often only one to two millimeters thick and has been sprayed with glittering particles on one side.
Because only one side glitters, the Mr Beam effortlessly cuts through the felt.
In order for this to work, all you have to do is place your glitter felt in your Mr Beam with the glitter side down so that it can laser the back.
From the file to the finished sprinkle decoration in just a few steps
- The first step is as always: Start your Mr Beam.
- Download the file with the New Year's motifs for the sprinkles from the Mr Beam design store to your design library.
- You can find the “Happy 2023” file as an introductory file at "Mamas Sachen" in the shop. It is a plotter file, which - as you can see - can also be lasered wonderfully. The file also includes a cake topper or plant plug, which is also a nice idea for your decoration at the New Year's Eve party or as a small New Year's gift.
- You load the file onto your PC and from there also into your design library.
- You can now bring all motifs into your workspace in BeamOS.
- The material-saving arrangement is now pending in BeamOS.
First set the material height. If you use the cutting mats from the Mr Beam Shop, you must of course also take them into account here.
Very important: You must mirror writings, such as the lettering "Happy 2023", because you are lasering the back of your glitter felt, and it would otherwise be mirrored.
Mirroring is very easy in BeamOS using the button I marked in the image below.
You can also mirror the pig if you don't want it to always look in the same direction in your sprinkles.

Now open your Mr Beam and put your felt inside.
Important: Insert with the glitter side down so that Mr Beam can laser it without the glitter particles reflecting the laser beam in all directions.
Since you will now be lasering the same motifs more often, just in different colors, it is helpful to place a position mark on the corner of your felt . In this way, you can quickly laser the motifs arranged in the BeamOS workspace without having to adjust and move them again.
For example , one or two magnets or a correct positioning aid from the 3D printer, like the one I use, are suitable for this. If you're lasering on the cutting mat, you can also count the hills. For example, leave 3 rows free at the top and sides.

- Now the laser head should be focused. To do this, move the Mr Beam laser head to any position above your material by double-clicking and focus using your focus tool.
- To get to the settings for your laser job, click on “Laser”.
You choose felt as the material for your sprinkles for New Year's Eve.
Here, you have specified some colours with the associated laser settings.
Choose the shade that matches the colour on the back of the glitter felt in Mr Beam. The laser parameters for 3 mm thick felt are saved.
Therefore, you have to test which settings are actually the right ones for your glitter felt.

I just reduced the number of passes and left the rest. It worked wonderfully and delivered a beautiful result. All motifs were lasered perfectly and could be easily separated from the sheet.
You can push out or pull out the loose felt parts in the “Happy 2023” with your fingers. Very small pieces can also be easily pushed out with a pen.

- This is how you now proceed with the colours silver and black.
The motifs are already arranged.
You place the sheet in the same place as the previous one, aligned with your positioning aid.
Focusing is already done, so you change the colour of your material in the laser settings of BeamOS, and you're ready to go.
When you have lasered enough motifs for your New Year's Eve decorations, you can start decorating.
On the laid New Year's Eve table, between plates, cutlery, glasses, the raclette machine and all the small bowls with ingredients, your glitter felt decoration brings the right glamour factor to the table.
Combine your DIY sprinkles for New Year's Eve with golden confetti and streamers hanging from the ceiling.
I wish you a happy new year and have fun imitating
Your Rina
