At Christmas, more cards are likely to be sent and given away, as a total of the entire rest of the year. So that you do not have to give away a simple, maybe even boring paper card, we have a new one Tutorial written in which we explain to you as you just have a complete a special Christmas card yourself can. This consists of this wood to be able to take off even more!
Motives and design
In the design of the DIY Christmas card of course you have as always completely free hand. It is only important to ensure that together belonging parts are not cut apart by the laser. In an emergency, you have to help through auxiliary bridges, like this:

So that your card is really nice for Christmas, you need next to a lettering also one or the other subject, with which you decorate the card. Here are the Christmas classic very good. Whether a Christmas tree, a reindeer or a very simple candle, your creativity is not limited here!
If you want to have it a bit easier, you have the opportunity to grab the design store as always. Here we have prepared you two different designs of a card. One of the two is completely laser from two wooden plates while they taped the other on a paper base and frying with wooden elements. Just search in the store "Christmas card made of wood" And select your favorites.

Wood engraving and cut - What is best suited?
I think it's clear that wood is not equal to wood. One must distinguish between the different types of wood, whether the wood is soft or hard, and also as the wood was processed. Is it a press span plate or yet Solid wood? All this needs to be clarified before simply putting the wood into the MR Beam for editing. Basically, all types of wood you are with us in Shop find, Good to laser. So if you want to go safely, you just decide for what you like best and order it directly from us.
But you should still own your own Wood for your Christmas card At home, there are a few things to pay attention:
- It is always best if the wood has as little ash holes as possible. Knotholes usually have a higher density than the remaining wood, which is why it can happen that the laser's settings can not quite rich to cut through there.
- Is it particularly bright wood (e.g., Poplar wood), it may be that you especially with the engraving the Intensity of the laser a little up screwing. If the wood is too bright, it may not absorb enough laser light and there is no engraving.
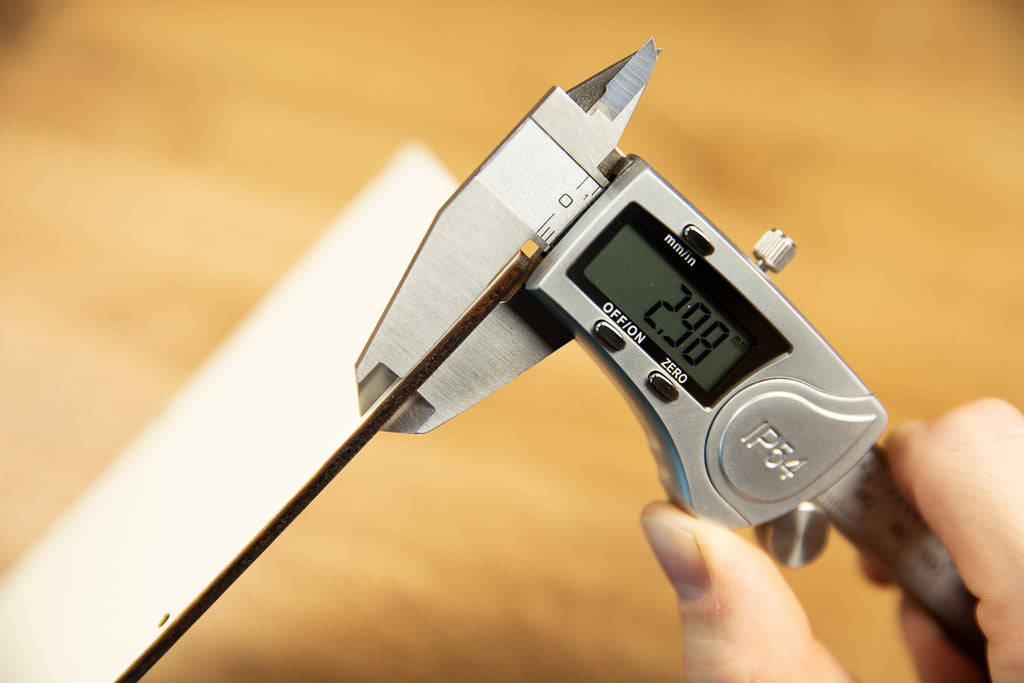
- In addition, it is important to ensure that the wood really has exactly the thickness that you in the software later set. If it is thicker, it can happen that the laser does not come through when it's thinner, maybe you do yours Cutting mat broken. So just miss, with a caliper, how thick your wood is and adjust the parameters accordingly.

Laser - Software Preparation and Laser Job
The design is ready to choose wood, now the laser can start. There is nothing to pay attention to this time. Simply the Height of the cutting mat plus the thickness of the wooden plate Set top left, then place the design as far as the edge as possible to save wood. Here you can also set the size of your wood Christmas card again. Did you choose the double-sided card, you now have the opportunity to make the right side engraving with the individual tree a small text. Alternatively, you can of course make it with a pen as well.

Then you can already click on "lasers", check that engraving and cut are properly placed and set the parameters properly. Do not forget to turn the intensity a little, if you Bright wood for the Christmas card use.
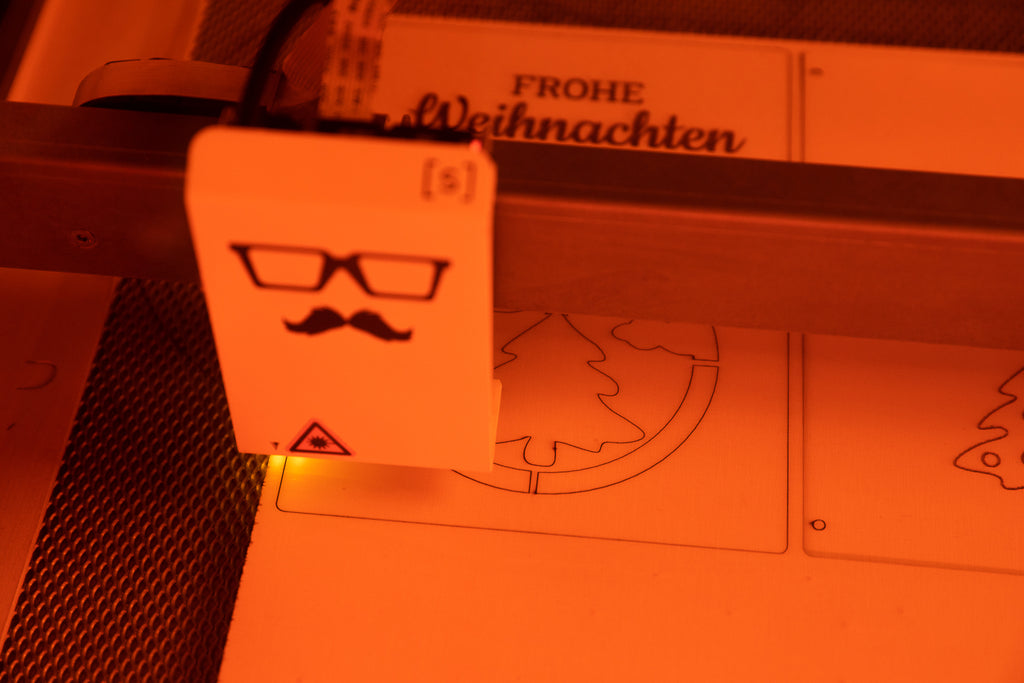
Now it starts, you can lean back relaxed and see the laser while working.

A wooden greeting for Christmas
The fresh laser Christmas card made of wood next, will be bound together on the three holes on the left side or in the other case, the three parts are glued to a paper card. Both variants have another small hole on the right side, with which you can close the card with another band and a small loop.

That was already the last step, your very special Christmas card made of wood. As always, we are looking forward to every new contribution under the Hashtag #madewithmrbeam, in which you show us and the community your results! In our Christmas blog, you get more inspiration to yours DIY Christmas decoration.


