Every year we look forward to Christmas. And I especially on decorating for Christmas. Red baubles, fairy lights, candles, a little glitter and more!
But what if a visitor suddenly announces itself and nothing has really been prepared yet? Well, that's no problem for you and your Mr Beam.
In this tutorial, I'll show you how you can quickly laser scatter decorations.
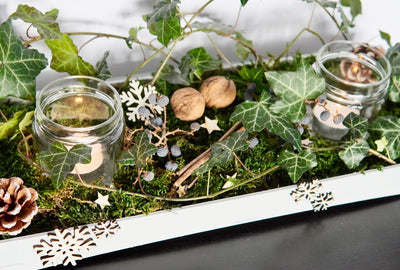
Scatter decoration can be used individually.
On the festively set table along an organza table runner, simply on the windowsill with the rest of the decoration or even then on Christmas Eve as a gift marker.
What do you need for your DIY sprinkles for Christmas:
You actually don't need much, and your scatter decoration is ready in no time
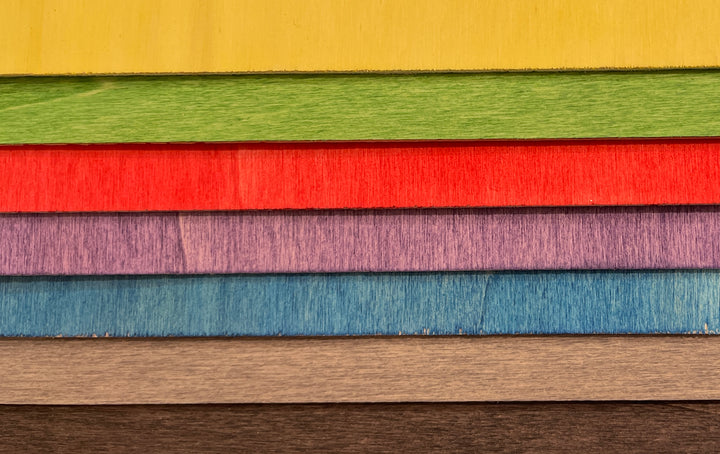
- red and green poplar plywood
- Silver glitter spray
- if necessary, gloves and a respirator for painting
- your Mr Beam and the file of mom's stuff
Make sprinkles for Christmas
I used the “Winterdoodles” file from Mamas Dinge, because the individual elements of the file it contains are very suitable for making wooden sprinkles for Christmas. I picked out a few of the 18 included motifs and loaded them into my graphics program.
In order to turn the Christmas motifs into wooden scatter decorations, you need a small offset. You can easily create this in your graphics program, for example Affinity Designer or Adobe Illustrator.
So the Mr Beam can cut the offset and engrave the motifs.
Once you've created an offset around each motif, adjust the size of the wooden sprinkles.
Consider beforehand which decoration you want to use them with.
The individual elements of your wooden scatter decoration for Christmas should not be too big, so that they always blend harmoniously into the rest of the decoration.
I recommend an approximate size of about 3 - 4 cm.
A precise engraving image even on small sprinkles
The individual elements of your Christmas sprinkles will only be a few centimetres tall. Despite a small line spacing of 0.1 mm in your engraving, you can often see the engraving paths, especially because you are very close to the eye with scattered decorations on the table.
That's why I have a tip for you to get a very clean edge of the engraving even in such cases :
Outline the engraving of your motifs with a cutting line. However, choose a different colour than your offsets. In my case, I chose blue.

Now start your Mr Beam and thus also the BeamOS .
You load the prepared file from your graphics program into your design library in BeamOS. From there into the workspace.
Meanwhile, put your colourful poplar plywood in your Mr Beam. For example, start with green. Arrange the motifs as material-saving as possible. With elements as small as those in your sprinkles for Christmas, you can also use leftover pieces of wood.

Click on “Laser” and you will get to the settings for the laser job.
Choose plywood poplar and a thickness of 3 mm.
Of course, BeamOS immediately recognizes the red line as a cutting line. The engraving is also recognized correctly.
And with a little trick, your blue line becomes the border of your engraving.
For your Mr Beam it is and remains a cutting line, which he follows in the same way. However, you adjust the parameters so that it only lasers these lines with the strength of your engraving.
I simply adopted the engraving settings, but of course reduced the passes to 1.

Cutting job as engraving on poplar plywood:
intensity 45%
Speed 1500mm/min
Runs 1x
In this article from Mr Beam Support under “5. line colour” as it is also possible in other ways. Here, it is shown that you can drag the corresponding line colour into the field for engraving in the laser parameters.
Confirm the settings and then focus the laser head over your colourful poplar plywood. Now everything is ready to start the laser job for your Christmas sprinkles.

When your Mr Beam has finished lasering, you get out your green scatter decoration.
Comparison of simple engraving and border with engraving in close-up:

However, since a single-coloured scatter decoration would be a bit monotonous and boring, you now put your red poplar plywood in the Mr Beam.
Here, too, you proceed in the same way as with the green wood.
You can now have the same elements for your Christmas sprinkles lasered out of your red poplar plywood using exactly the same settings.

Give your DIY sprinkles a glittering finish this Christmas
Your finished lasered scatter decoration is now ready for your little highlight.
Christmas also needs a bit of glamour. Glitter and sequins on the clothes, so why not add a little glitter to the Christmas decorations too?!
There are glitter sprays for that. They contain clear coat with gold or silver glitter particles. So the basic colour is not changed.
As always, for painting, go to a place that is protected from wind and rain and should be as dust-free as possible. This is where you set up your paint booth. Alternatively, an upright box will do the trick.
Place your Christmas sprinkles in the paint booth, making sure the designs don't overlap.

You prepare your spray can according to the manufacturer's instructions. For sprays with glitter particles, I recommend shaking longer than too short. And shake the spray can vigorously from time to time. Otherwise, the result could be uneven with silver glitter particles.
Now put on your disposable gloves and a respirator.
Spray your wooden Christmas decorations thinly and evenly with the silver glitter spray from a distance of 15 to 20 cm, and let the first application dry.

To do this, place the individual scattered decorative elements on a dry surface as soon as the paint is firm to the touch. This will prevent them from sticking to the previous surface.
After drying, you look at your result and then decide whether another layer of silver glitter is necessary or not. Sometimes less is more.

When you're happy, your wooden Christmas sprinkles in red, green, and a little silver glitter are ready to use in your decorations.
I hope you have fun imitating it - and I wish you a contemplative Advent season
your Rina


