Birthday plates are right back in fashion. But put up the same one every year? That gets boring at some point. That's why I thought of a small plug-in system that you can use to decorate your child, partner or parents with a new birthday plate every year. Always create new plugs, buy different candles, or place completely different things in the pans. I'm really excited to see what other ideas you have!
Material for the birthday plate
- 8 mm poplar plywood
- 3 mm poplar plywood
- wood glue
- brackets
- candleholder for 22 mm candles (total diameter with rim 27 mm)
- Candles 22 mm diameter
- a small glass bottle
- dried flowers or fresh flowers

Mr Beam Poplar plywood suitable for [x], 8mm, A3
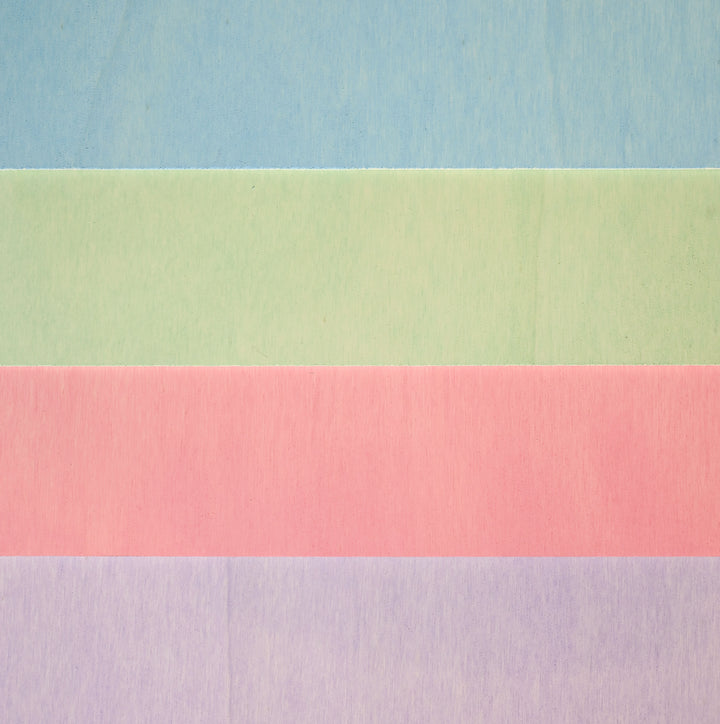
Mr Beam poplar plywood 3mm, pastel, A3, economy pack (4 colors)
Plywood Pack of 5
Make your own customizable birthday plate with a Mr Beam

And off you go. First, you need your Mr Beam laser cutter to cut out the plate. For this I used 8 mm poplar plywood, because they are double thick enough for the candleholder to sink completely into it. The file is designed so that you have two round holes for candleholders and two square holes for decorative plugs on the upper half next to the engraving. On the lower half there are only the round holes because the plugs don't need that much depth. Since the engraving is quite fine, I would recommend changing the line spacing to 0.1 mm and, if necessary, increasing the piercing time.
If you use holders with a different diameter, you can easily adjust the file in graphics software such as Illustrator or Inkscape. If you want even more holes and indentations for connectors, you can easily add them using the Quick Shapes in the Mr Beam software.
Lasering thick wood with the [x] head - so many more possibilities

Note that 8 mm poplar plywood can only be cut with a Mr Beam dreamcut [x]. If you have a dreamcut or dreamcut [s], you can easily upgrade by just buying the [x] laser head.
Recommended settings are stored for this wood thickness. If you are unsure whether your wood is of sufficient quality, I would recommend clicking progressively in the advanced settings. This causes the laser head to slow down a little with each pass.
When gluing, make sure that you distribute the glue evenly and fix the two panels with clamps while they dry. So nothing slips or bends. While the glue dries, you can start lasering the numbers.
So you can redesign your birthday plate every time

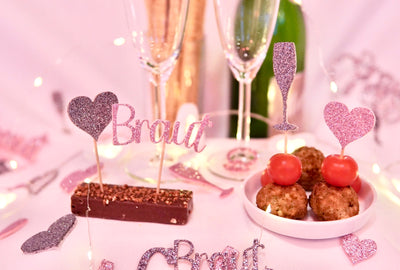
And now it's time to decorate! The different slots give you many options for personalizing the birthday plate. You can also create other stickers with new motifs, for example the name of the birthday child, their favourite animal or a greeting. All you have to do is take your engraving motif and create an offset from it. All you have to do then is add a 8x8mm square to the offset to fit the hole in the birthday plate.
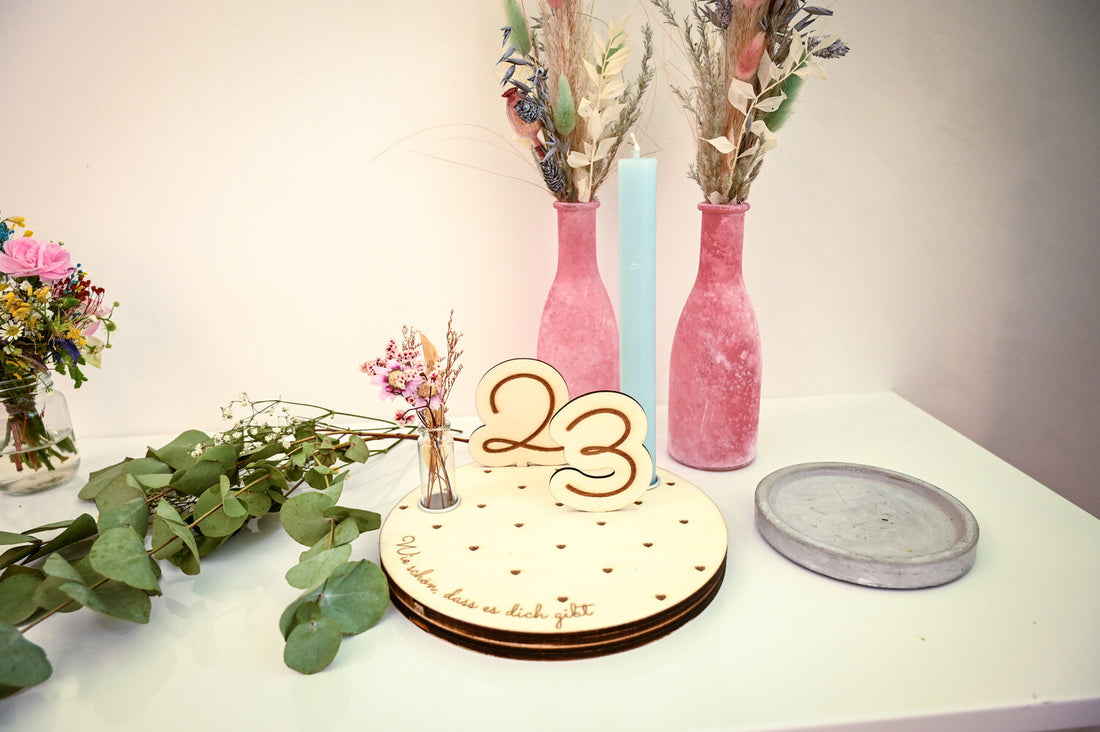
When I rummaged around in our showroom craft box, I found small 2 cm diameter glass bottles that fit perfectly in the candleholders. So you can decorate your birthday plate with a few dried flowers or even fresh meadow flowers.
If you want to make someone really happy, then use the language of flowers to choose your flowery surprise. The birthday child will certainly be happy about elderflowers for kindness, a daisy for friendship or a tulip to express your admiration.
You can now freely equip the slots. I have put together a few examples for you:

I hope your birthday child is very happy about the homemade birthday plate and wish you a nice celebration.
Your Marie