ALAAF you jesters! Carnival is happy and colourful - and that's exactly how carnival decorations should be. What fits better than the colourful poplar plywood from Mr Beam.
You've probably already discovered a lot of great DIYs with the Mr Beam for Carnival here in the blog, right?
Today, I'll show you how you can quickly use the Mr Beam to laser yourself a beautiful, colourful door wreath for carnival.
Material for your carnival door wreath

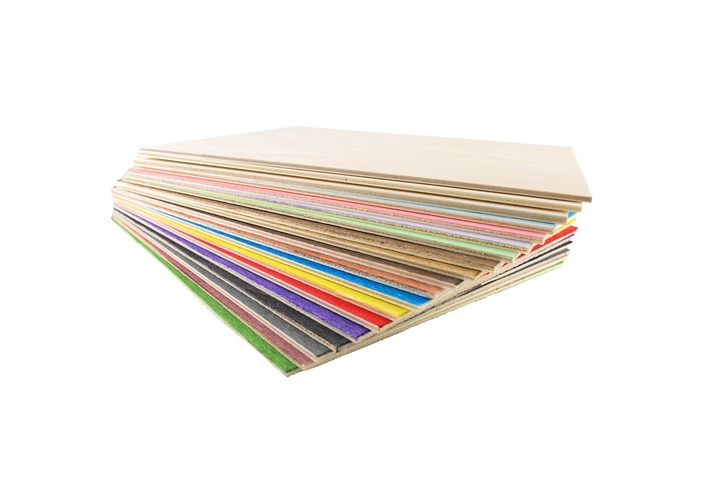
Of course, you need the file from the Mr Beam Design Store for the carnival door wreath and the colourful poplar plywood as the material. I used red, green, blue, yellow and purple for this project.
However, the colourful poplar plywood can only be lasered with a [S] or [X] head. You can also use simple 3 mm poplar plywood and paint or varnish it afterwards.
In any case, use normal poplar plywood with a thickness of 3 mm as the basis for your door wreath and of course you will need wood glue.
Optionally, you can decorate your fool's cap or the entire door wreath a little at the end. For example, with pompoms, balloons or twisted pipe cleaners, like I did for my quick carnival party decoration. If you still want to decorate your door wreath, you will also need hot glue to attach the decoration.
Door wreath for carnival from Mr Beam
Personalize your carnival door wreath from the Design Store
To be able to laser the door wreath, start your Mr Beam. To do this, press the power button and open find.mr-beam.org/ in your browser. As soon as your Mr Beam appears here, click on it and the Mr Beam software will open.
At the top right, you will find the “Design Store” tab. Here you will find a lot of beautiful designs for lasering. And of course you will also find the file for the carnival door wreath there.

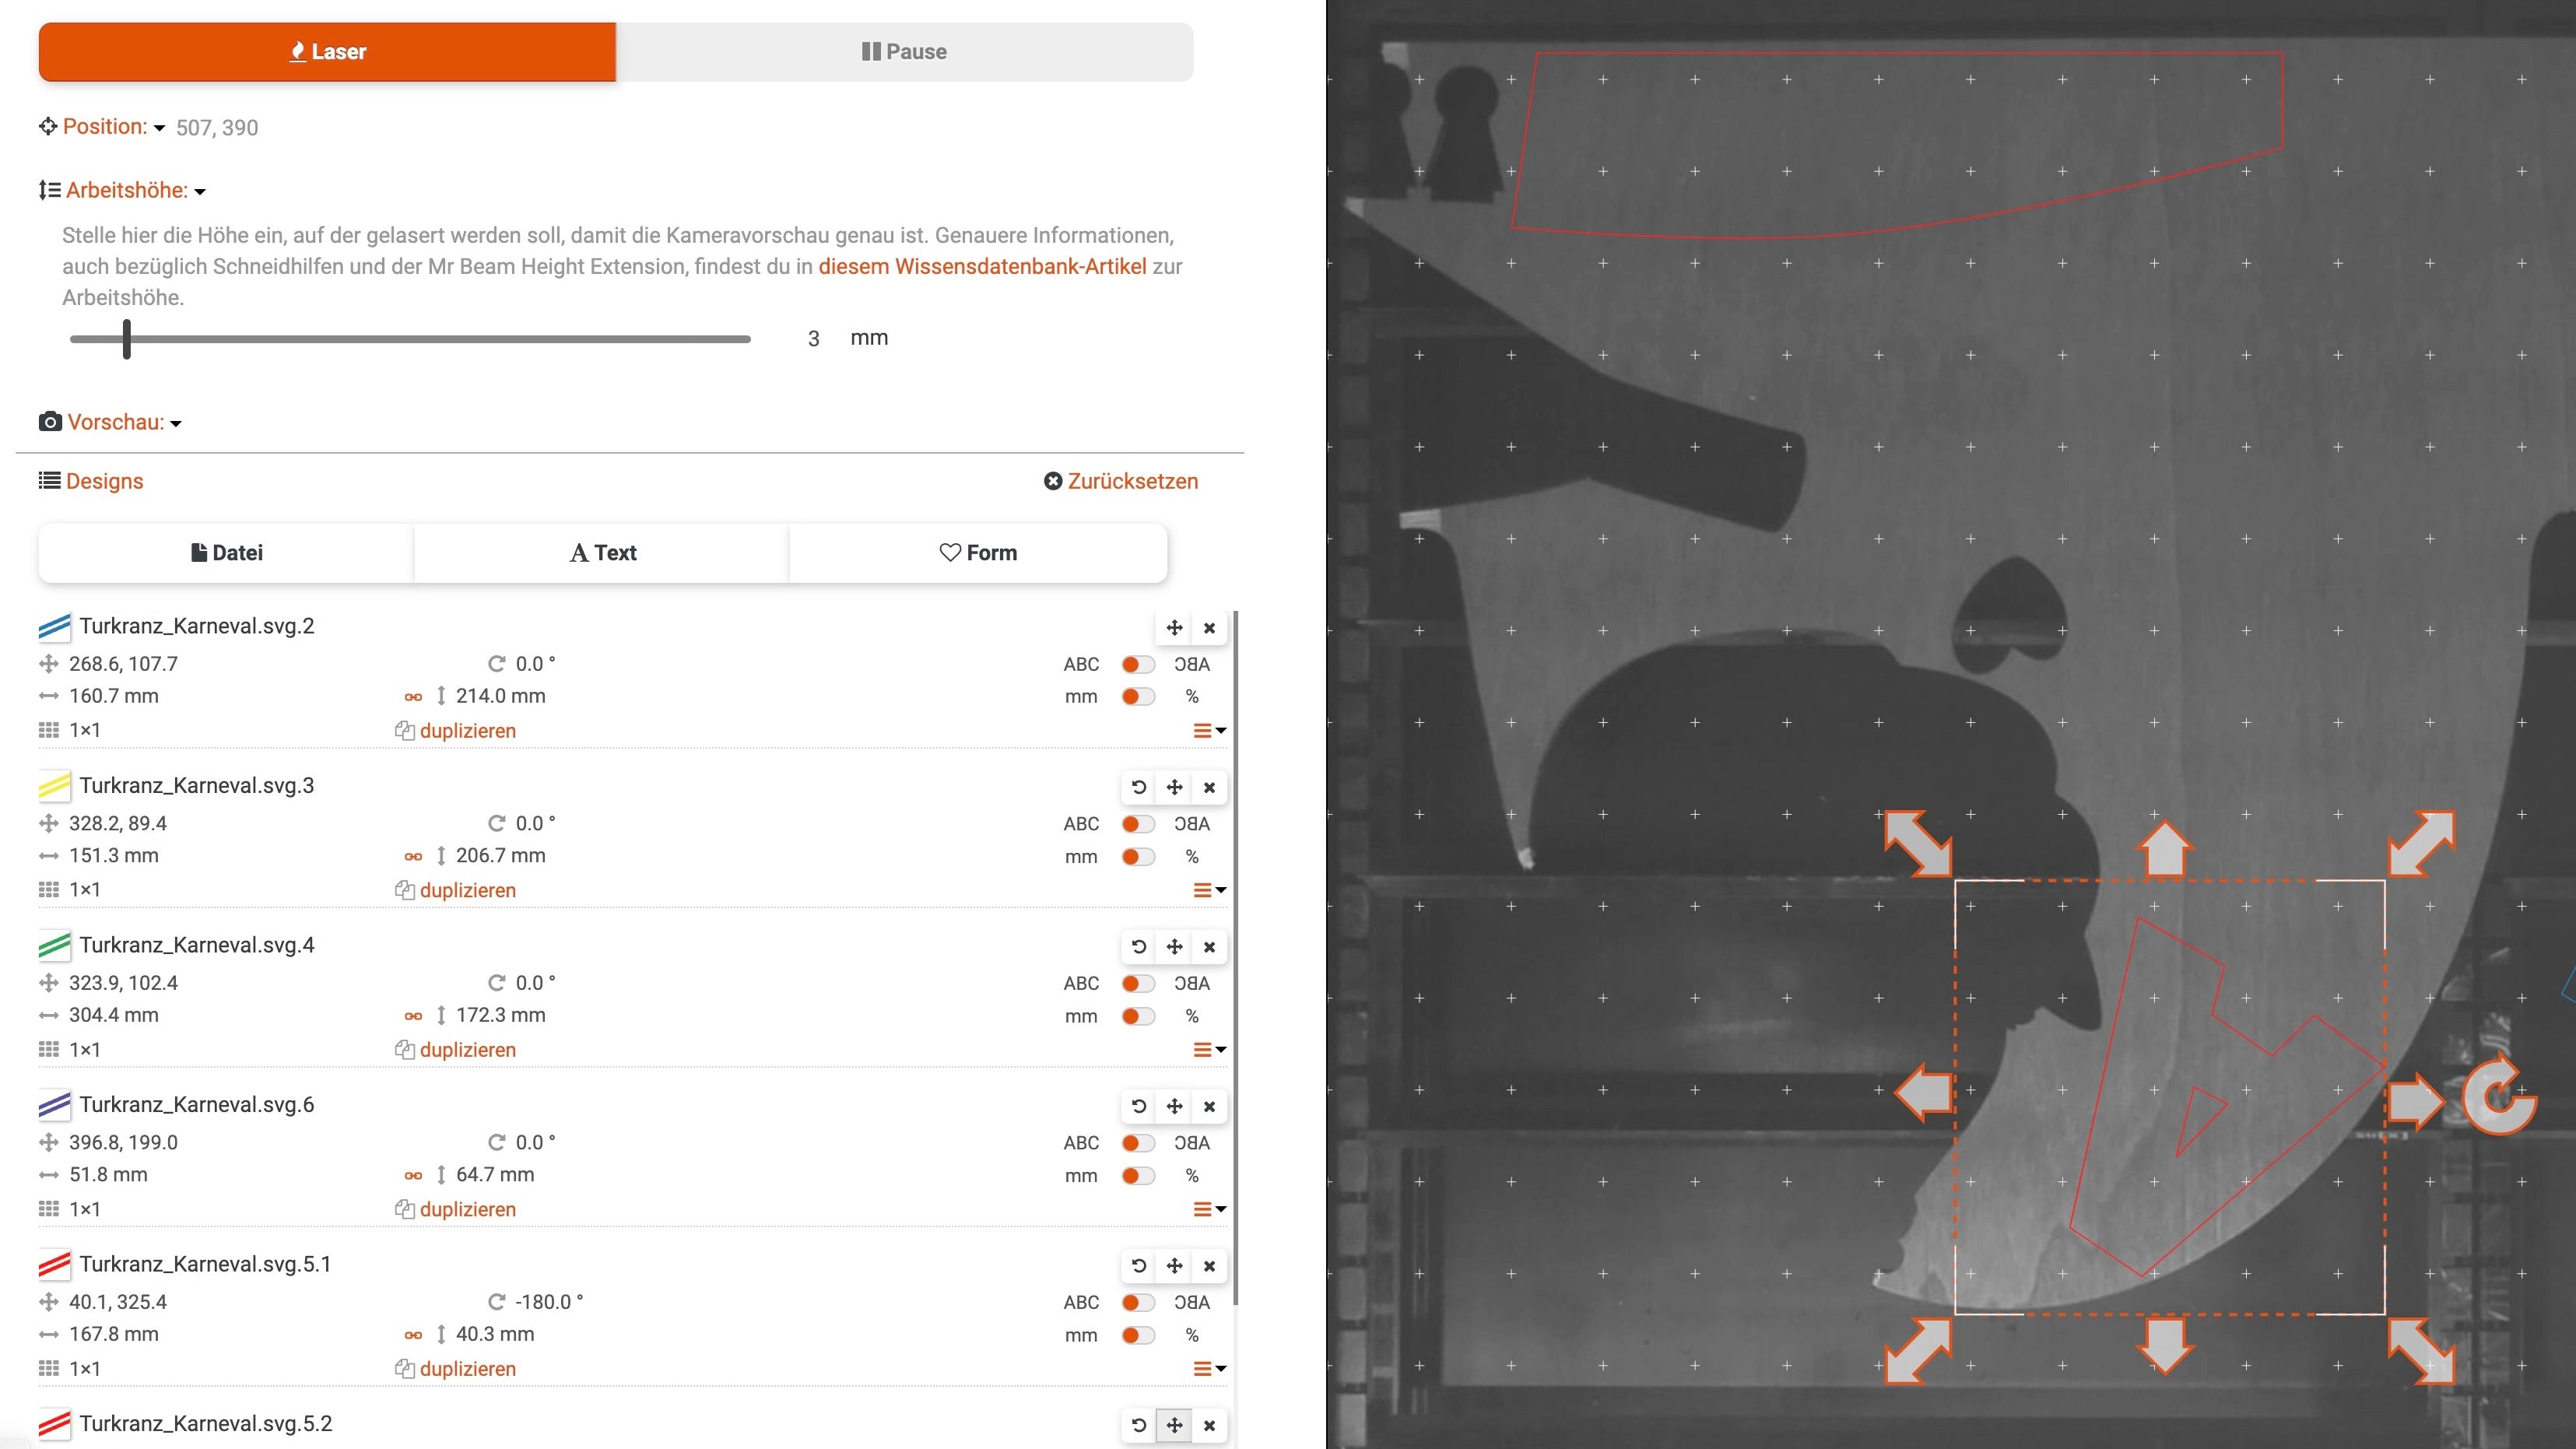
If you then open the file in your workspace, you will see that I have prepared the cutting lines in different colours again. This is to make it easier to divide the laser jobs between the colours of the poplar plywood.
I intentionally left the upper area free so that you can design it according to your wishes. There are no limits to your creativity here.
Like me, you can simply laser the fool's exclamation you are familiar without of the colourful poplar plywood and place it there, or personalize the door wreath with your last name.
You can use the fonts saved in the Mr Beam software for the lettering by clicking on “Text” in the work area.

Or you can create your own individual lettering in your graphics program such as Adobe Illustrator, Corel Draw or similar. If you want to laser the letters from different colours of wood, it is recommended to show the cutting lines in the respective colour now.
Then save your foolish exclamation on the PC, and then drag and drop it into the workspace of the Mr Beam software.
Now the file is ready for lasering.

Laser your door wreath for carnival
Divide the file by line colour and place the first sheet of poplar plywood into your Mr Beam. By cutting it up, you can now align the individual elements on your wood to save material. Leftover pieces of colourful poplar plywood are also very suitable for this.

Since all plywood sheets are the same thickness, you only need to focus the laser head before the first laser job, after that it is no longer necessary.
When the respective elements for your carnival door wreath are aligned, you can select your material in the Mr Beam software and also confirm the thickness by clicking on “Laser”. You can skip any line colours that you do not want to laser
Make your colourful door wreath for carnival
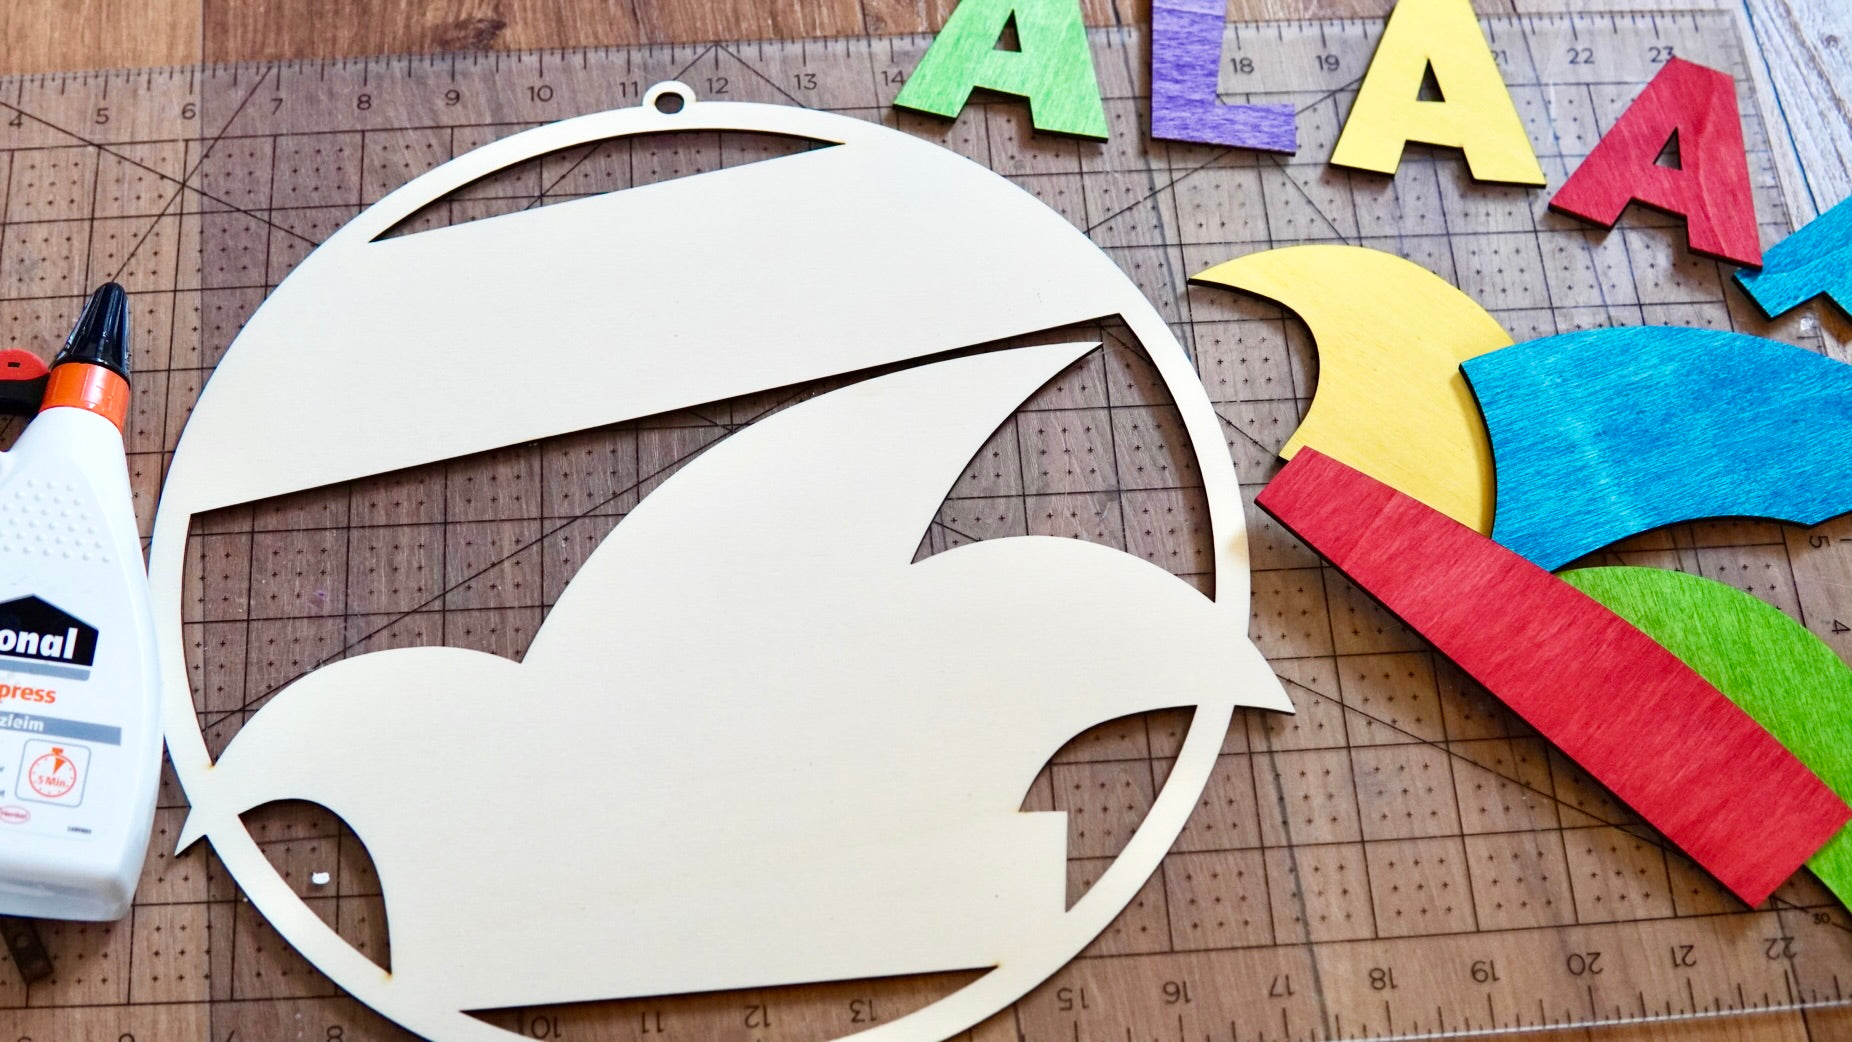
Now it's getting colourful! The colourful parts are now glued to the base of your door wreath.

To do this, apply a thin layer of wood glue to the back of each piece. The dunce cap can be put together like a puzzle. And glue the letters of the lettering evenly distributed on the space provided. Since they are so large that they protrude a bit, the wreath appears a little loosened up, similar to the tips of the dunce's cap.

The easiest way to do this is to lay your wreath flat somewhere and place something very heavy on it. Pressure allows the glue to set better.
When the glue has dried, grab your hot glue gun and stick the decoration to your carnival door wreath.

I glued pompoms in the matching colour to the tips of the jester's cap.
To do this, I simply applied hot glue to each tip and pressed the pompom firmly.
And your own carnival door wreath is ready. You can now easily hang it up using a string using the eyelet at the top. I hope you have fun imitating it and especially celebrating carnival! If you are still looking for the right costume for carnival, I can recommend this bird costume.
ALAAF!!! 🎉
Your Rina


