Who does not know this: You are invited to a birthday party at the last minute and have no idea what to give the host. In such a case, a voucher is the quickest solution. But how can I wrap my voucher nicely?
In this DIY guide, I'll show you how to easily make voucher holders with your Mr Beam laser cutter, which you can give away for any occasion, whether it's a birthday, anniversary or wedding.
You can use these materials to wrap your voucher as a gift :
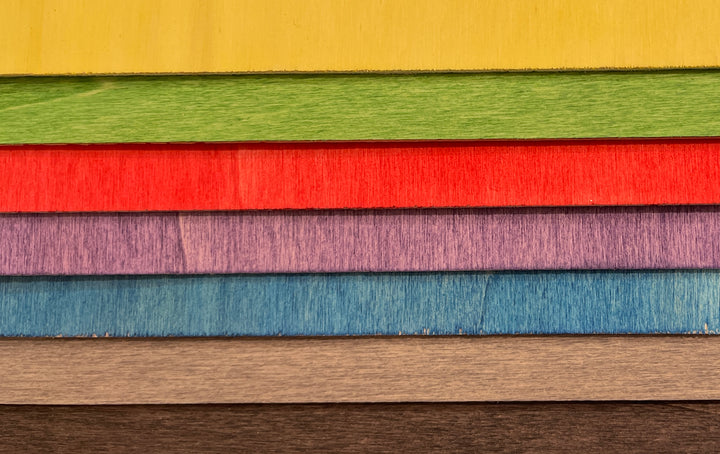
- poplar plywood (dyed or natural)
- Sandpaper or sanding blocks in different grits
- paint primer
- Varnish in the colour of your choice
- the voucher holder files from our design store or your own file
- and your Mr Beam
Prepare your laser file for the voucher holder
If you want to create an individual file for your voucher holder yourself, you can do this in the design software of your choice. You could even construct a particularly simple design from rectangles directly in BeamOS.

Start with a rectangle the size of your voucher. This only serves as a guide and will be deleted from the file at the end. We now create three layers around this rectangle: A back panel, a middle layer that holds the birthday card and a front that holds the voucher in place and frames it nicely. You can use any object for this, for example one that relates to the content. Are you giving away a voucher for a garden center? Then take a flower as a shape.
If you want to save yourself the effort, you can get our three variants gift, cake and heart in the Mr Beam Design Store and can get started right away. The gift and cake files are designed for the size of a credit card, which is where many gift certificates come in. The heart can be used for vouchers of different sizes.
Cut wood quickly and precisely with the Mr Beam

And off we go to the laser. Place your material in Mr Beam, start BeamOS and drag and drop your laserfile into the workspace or select it in the Design Store. Place them in the desired location in the preview image and focus your laser head. If you like, you can add text engravings with birthday wishes or similar.
Then you click on Laser, choose your material and start with the default settings or set your own laser parameters. For this project I doubled the cutting speed to 600 mm/min, increased the passes by one and set it to progressive. Click Start, close the lid and press the start button on the device. Now the Mr Beam will engrave and cut your wood all by itself.
Prepare poplar plywood for painting

For an even colour result, it is worth preparing the wood for varnishing. First, sand your wood panels with sandpaper or a sanding block. You start with the coarsest grit and work your way to the finest. Then you remove the sanding dust from all individual parts so that it does not stick under the paint. You can use a soft brush for this, for example. Before you start with the coloured polish, I recommend using a primer.
When applying the spray paint, make sure that you keep a distance of about 20 cm from the workpiece and apply a thin layer to avoid streaks in the paint. If you want to spray on details with a second colour, mask off the desired parts with masking tape after the first paint colour. I also like to use thin washi tape for particularly fine details. Be sure to remove the tape before the paint has dried to avoid cracks.
If you want to save yourself the painting, you can also use our coloured poplar plywood. In addition to saving time, the natural structure of the wood also remains, creating a noble look.
Wrap your gift card

When gluing, make sure that you apply a thin layer and immediately remove any excess glue with a cloth. It is best to fix your voucher packaging with a screw clamp.
Once the glue has dried, you can pack everything nicely.
Perfect the voucher holder with small details

If you want to present your voucher holder even more, wrap it in transparent foil and decorate it with pretty ribbons and a gift tag . This is how a simple voucher becomes a real eye-catcher on the birthday table.
Have fun giving,
your Marie


