VIVA LA MEXICO! Mexico is known for its sombreros, spicy food, tequila and, above all, colourful, lavish festivals. If that's not reason enough to celebrate your next party with a "Mexico" theme.
A Mexico Party stands for:
Delicious food: Mexican cuisine is well-known and popular. A party is an opportunity to enjoy traditional Mexican fare like nachos, tacos, guacamole, enchiladas, quesadillas, and more.
Dance and music: Great rhythms and happy melodies invite you to dance. Salsa, merengue and cumbia are an integral part of many Mexican celebrations.
Colourful Decoration: Mexican parties are often decorated in a colourful and lively way. Holiday mood: Mexican parties spread a happy and exuberant atmosphere. A time when you can simply leave everyday life behind.
And we wouldn't be beamies if we didn't take care of the decorations for a Mexico party ourselves. Because with a Mr Beam this is done very quickly.
Material for your Mexico party decoration
- Poplar plywood in 3 mm
- Acrylic paint in green, red and also yellow
- Paint brush
- possibly a color palette for the acrylic paint
- Acrylic pencils for details
- Wood glue, for example Ponal Express
- Force
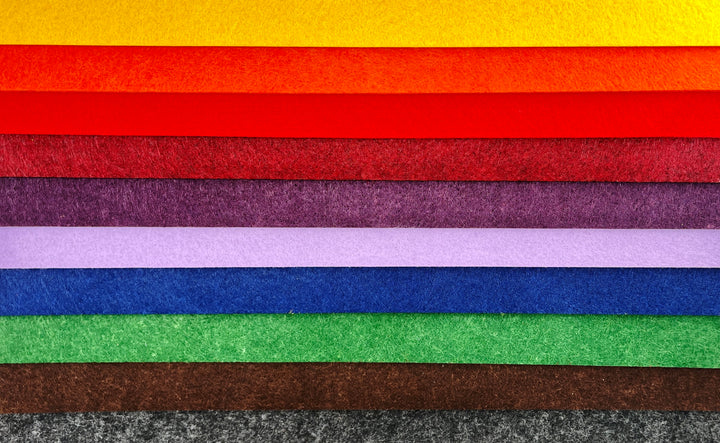
- Felt in green, red and yellow
Cactus as a table decoration for your Mexico party
The file has been in the Mr Beam Design Store for a while, and now I've finally lasered it because it goes perfectly with our Mexico Party Decorations: Three Cacti.
A cactus consists of a stand and two layers of wood. The front layer of wood is the details of the cactus and the pot. The back layer of wood is the background of both.

Start your Mr Beam and also the BeamOS in your browser. Load the file from the theme store into your workspace. The size should not be changed as it is designed for 3 mm thick wood and so fits perfectly in the stand. Put your poplar plywood in Mr Beam and then set the object height in BeamOS.
You can divide the individual elements and use the camera preview to distribute them very well on leftover pieces of wood.
As always, my little reminder: don't forget to focus.
The laser settings for poplar plywood are already stored. So you can start directly with the laser job. When all the cactus elements have been cut, you get them out of your Mr Beam.
Add some colour to your decoration
You are now ready for some colour. Get your acrylic paints and pens ready. Of course, there are no limits to your imagination when painting the cacti. When choosing the colours, I would mostly stick to the colours of the Mexican flag, green and red.
In addition, some yellow, orange and other colours make the table decoration for your Mexico party very colourful.

Acrylic pens are very suitable for small details, for example for the stripes on the pots. Larger areas can be painted faster with acrylic paints and brushes.
The acrylic paint should be completely dry before you glue the front and back together to avoid smearing the paint. Apply the glue as sparingly as possible, and then place the two elements of your cactus exactly on top of each other and force them.

When the glue has dried, you can put your cactus in the stand and the first part of your Mexico party decoration is already done.
Scatter decoration as Mexico party decoration on the table
In order to fill the table a little more and make it even more colourful, you can quickly laser a little scatter decoration with the Mr Beam.
And what does Mr Beam laser the fastest? Exactly, felt.
The scatter decoration for your Mexico party is lasered out of green, red and yellow felt.
It consists of three typical symbols: sombreros, maracas - the typical rumba rattles and of course cacti.

You already know the design of the three cacti. I bought the other two symbols as files on the Internet.
In your graphics program, for example Adobe Illustrator or Affinity Designer, create an offset around all the symbols for your Mexico party decoration. The offset is cut afterwards, and the symbols are engraved. Place the first colour of your felt in the Mr Beam, set the object height and align the Mexican symbols for your table decoration with the camera preview on your material. Since these are small elements, you can use leftovers here as well.
The laser parameters for the different felt colours are stored in BeamOS, but after a short test, I adjusted them to get a less deep engraving. With red and green, it was so deep that the engraving almost fell out. I lasered yellow unchanged.
For green, I reduced the intensity range of the engraving to 15% and for red to 20%.
And, you probably already know this from my other tutorials, I always frame the engravings again for a clean edge.
Because if you choose the material for your scatter decoration as Mexico party decoration instead of felt, for example, the colourful poplar plywood, you would be able to see the engraving paths, despite a reduced line spacing of 0.1 mm. Especially because you are quite close to the scatter decoration as a table decoration with your eyes.

I chose blue as the line colour for the border. In order to engrave the cutting line, you still have to move the symbol to the "Engrave" field.
Now you select "Start" and the Mr Beam can get started and laser your scatter decoration as another part of your Mexico party decoration.
This is how you do all the colours. After the laser jobs, your decoration for your Mexico party is ready and just waiting to be used.

As a supplementary decoration, a red and green masking tape is suitable as a kind of table runner with a few colourful streamers and some confetti.
I wish you a lot of fun imitating - and VIVA LA MEXICO !
Your Rina


