The baby room still lacks the finishing touches for "Yes, now it's perfect!"?
You want that Children's room quickly prettify a little?
Parents mostly use single -colored furniture and simple, mostly white, wall paint, otherwise you quickly look at the lush red, on the pastel mint or gray dreary. The time when you regret it is not long in coming.
This makes the temporary opportunity to conjure up a little color into the children's room with wall stickers, but ideal. With Wall stickers or wall decals can be the children's room Simply beautify in no time! And children just love it colorful. And if the wall stickers also correspond exactly to your current favorite topic, you will see how your eyes will shine.
There are countless providers - but what to buy if you can design them yourself? I'll show you in this Tutorial, how it works! However, one should with the Mr Beam no foils laser - Accordingly, adhesive films fall out as a material. The list of all materials that may not be lasered, you can find here.
The Mr Beam Noble wooden sticker I do not recommend this use, even if the idea is obvious. The adhesive component would already have included here, but the adhesive power is too strong for a temporary use.
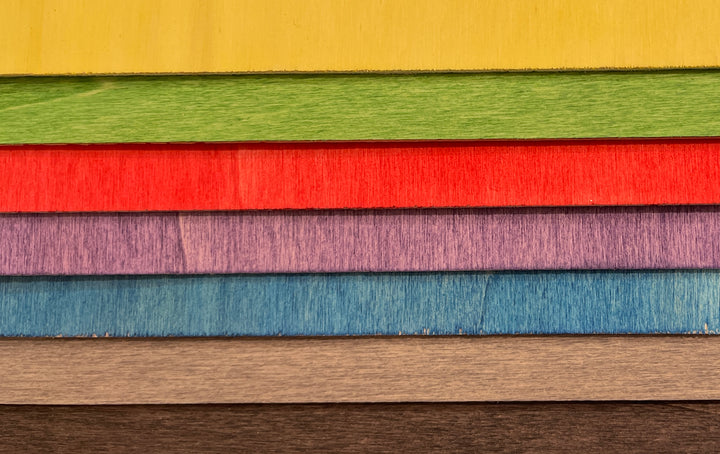
But how about thin plywood that you just paint according to your ideas? The thin one Plywood is stable And sometimes withstands one or the other curious children's hand.
You can attach your Wall sticker Then with adhesive pads or double-sided adhesive tape. Poster strips are also well suited for this, as they keep very well, but can be removed again without residue.
The choice of motifs for your wall stickers
as Wood stickers made of wood clear, beautiful silhouettes of motifs are suitable.
Here are a few suggestions:
- moon and stars
- Wide with rocket, astronaut and planets (there are even fluorescent spray paint, awesome right?)
- Heaven with hot air balloon and clouds
- Rainbow and unicorn
- Or a bar. Here, for example, with a pencil you can always write down the current date next to the determined size.
If you ask your child, you have certainly found a topic or motif within a very short time. Or even several?! Anyone who has the choice is agony.
We decided quickly.
Our girls love forest animals - we are often in the wildlife park.
That also fits the favorite bed linen with rabbits, deer and hedgehogs.
If you mine Forest animals as wall stickers, You can also find them in Mr Beam Design store.
So what do you need for your self -designed wall stickers?

- Thin plywood (so that it is nice and light, I would recommend a maximum of 1 mm as thickness)
- Spray
- Cardboard to make a painting cabin
- Double-sided adhesive tape, adhesive pads or poster strips for fastening
You see, it's really not much, and you have that in no time Children's rooms themselves designed with wall stickers.
Lasing your wall stickers
As always, you select the file in your design library so that you can then adapt it in the work area. Think about how big your motifs - and accordingly, your entire mural - should be. Simply adapt the file to your needs. Depending on this step, this step is easier in your graphics program, such as Adobe Illustrator to implement than in BeamOS.
Of course, you can - depending on the ingredients - your wood Paint with your spray colors before lasers.
However, please look back on the list to the Materials that must not be lasered.
As Wall sticker I personally found it more beautiful when the edges are also colored.
If you paint the wood beforehand, you can see the dark edge of the laser. But that's - like many things - just a matter of taste.
When your file is adapted and your plywood in Mr Beam lies not to forget to focus and especially with such thin wood to compensate for any bumps with magnets or weights. Always make sure that your magnet or weight does not make the route of the Laser head with special needs.
If your Mr Beam All the desired motifs for your homemade wall stickers for the children's room has lasered, you can start painting.

Painting wall stickers playing lightly
As always: you need one Wind and rain-protected space for painting. If possible, in the fresh air or in an open garage.
A large cardboard is suitable as a surface and back wall, and thus to protect the substrate and the surrounding area. Attach walls made of cardboard on the right and left. Or take a deep cardboard that is large enough to be converted as a painting cabin.

If your spray color is prepared for instructions, you can start.
Lay yours Motif for the wall stickers On an increase, for example an old glass or a piece of wood, to be able to paint the edges of your wall stickers.
Before you paint the motif, I recommend making a test spray on your cardboard. You get such a feeling for the spray.
So paint evenly and thinly with the recommended distance. Always turn your motif a bit and spray it to the side to paint the edges. Then let it dry well.

Idea: If the color is still wet, you can spread a little glitter on your motif. Or after drying, Set accents with acrylic pencils. There are no limits to your creativity!
The sticking of your self -designed wall sticker
Depending on the size and nature of the wall, you attach one or more poster strips to yours Wall stickers.

Start with the greatest motif, you can arrange the smaller things around it.
Pull off the protective film, position the sticker and tighten it.
This is exactly what you do the same also with the remaining wall stickers, until your entire picture is finished.
Have fun copying.
Your Rina

You have the tutorial to the self-designed wall stickers favor? Then follow us Instagram, not to do any new articles from our Mr Beam Blog to miss.


